
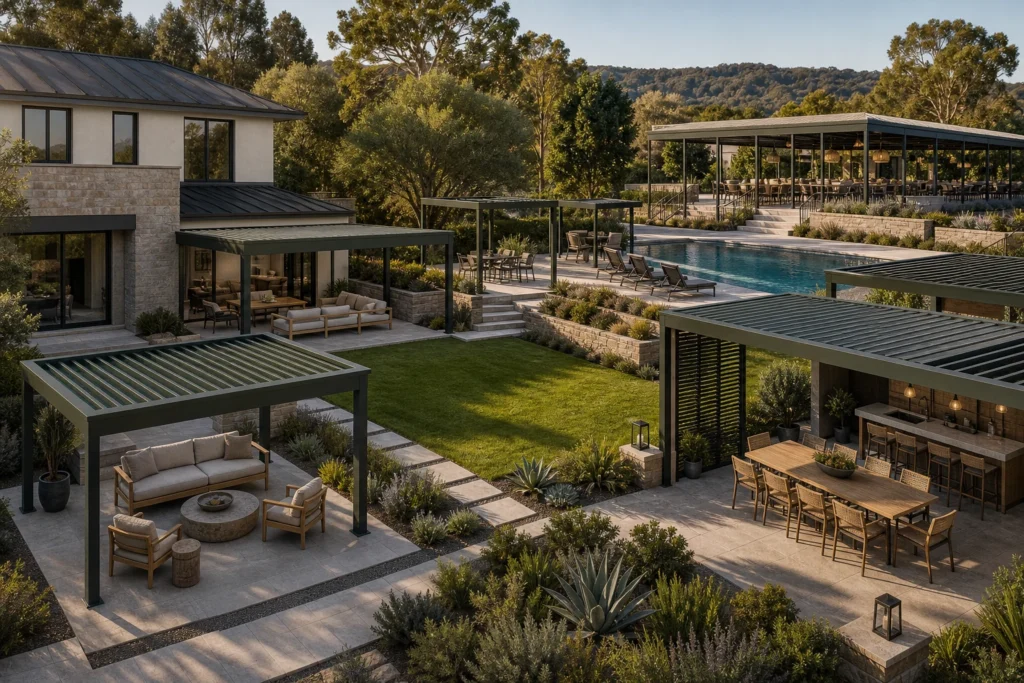

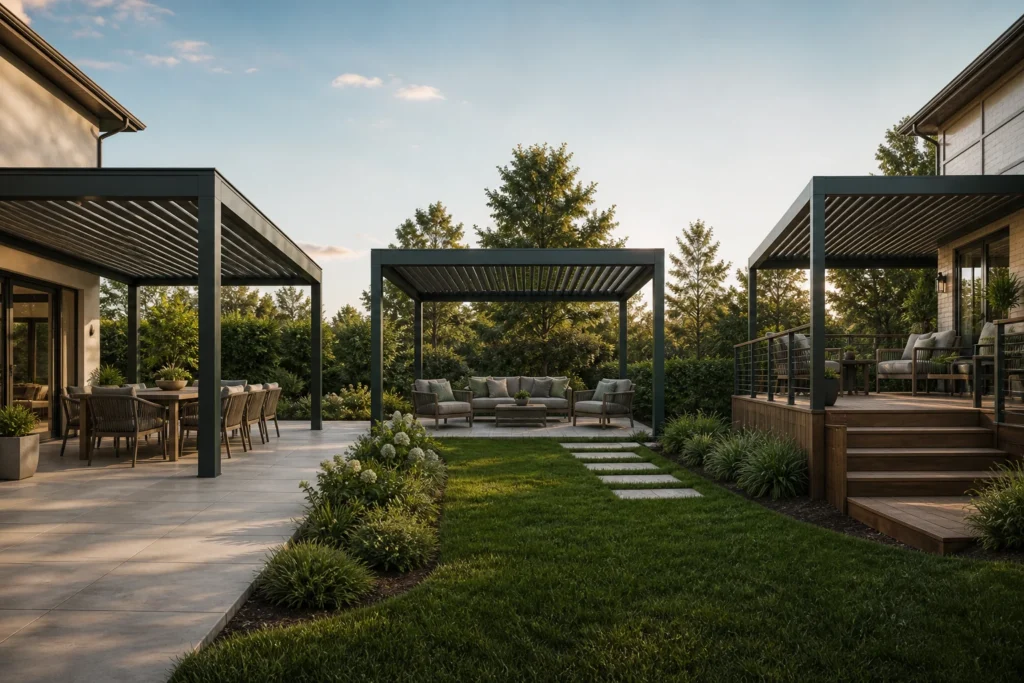
Best Aluminum Pergola Options by Location
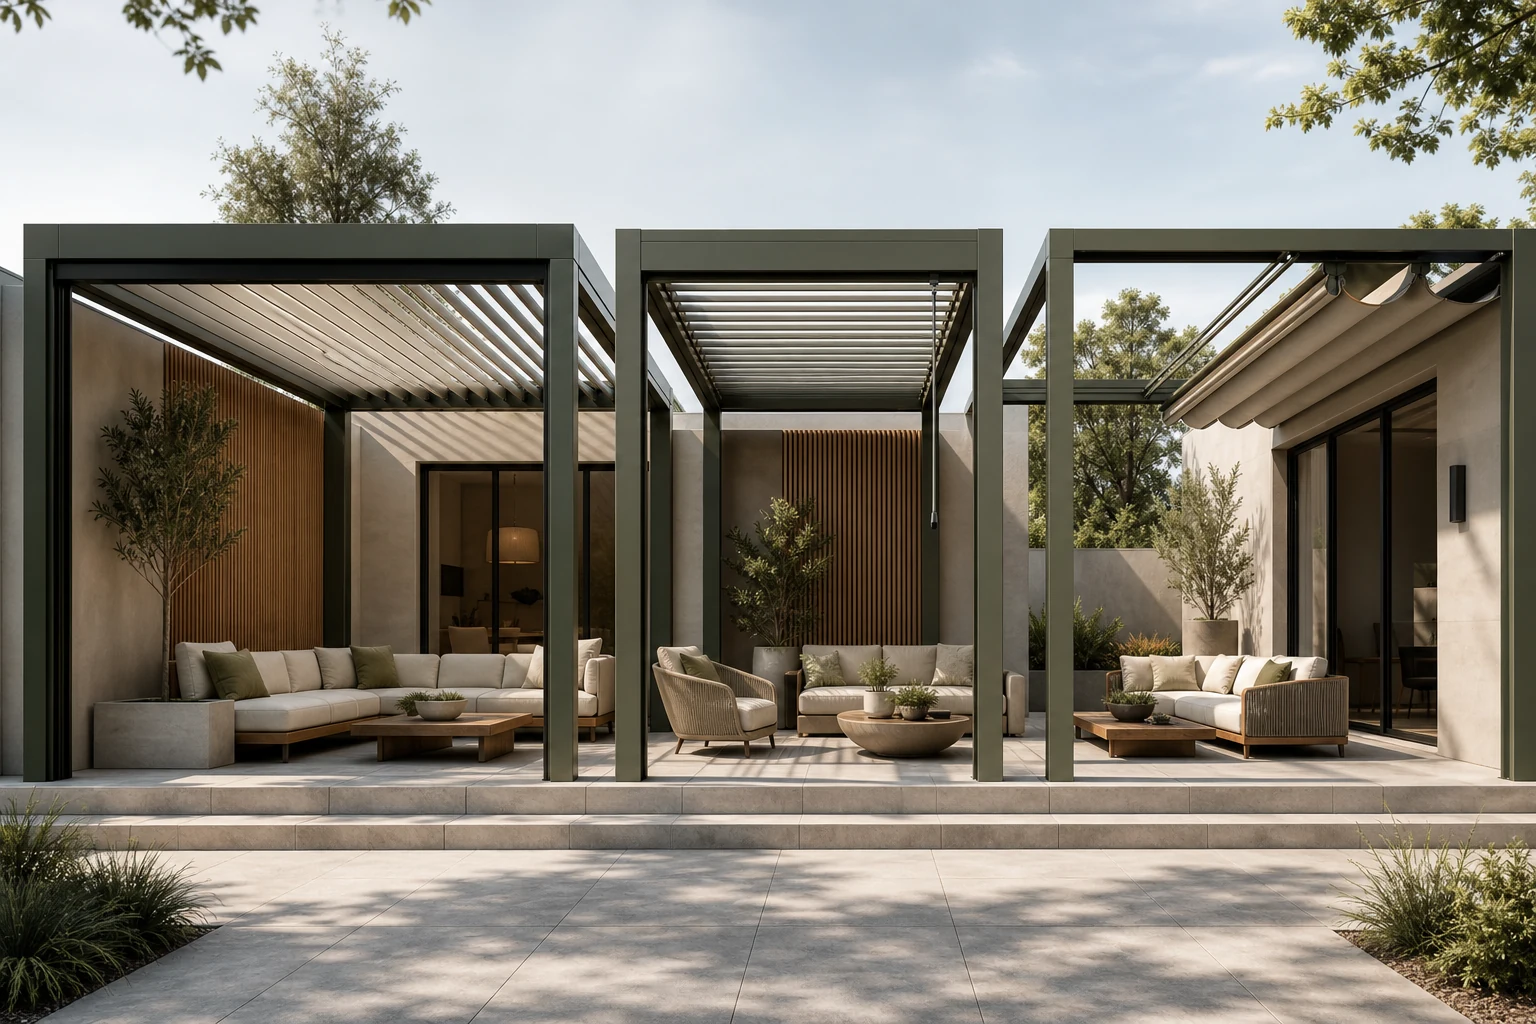
| Location | Best Starting Option | Why It Works | Main Installation Requirement |
|---|---|---|---|
| Patio or concrete terrace | Motorized or manual louvered pergola | Creates adjustable shade over dining and seating areas | Confirm slab condition, post anchors, drainage, and power route |
| Backyard or garden | Freestanding motorized pergola | Defines an outdoor room and supports lighting, screens, and future accessories | Install independent footings or another engineered foundation |
| Small or simple backyard area | Manual louvered pergola | Requires fewer electrical components and is easy to operate at a smaller scale | Prepare a level foundation and secure post bases correctly |
| Raised or structural deck | Compact or custom engineered pergola | Can provide shade without relying on deck boards as the structure | Connect posts to joists, beams, steel framing, or a structural slab |
| Outdoor kitchen or poolside area | Motorized or retractable pergola | Combines shade, ventilation, drainage, lighting, and controlled access | Coordinate water runoff, electrical safety, ventilation, and clearances |
| Coastal or high-wind location | Site-specific custom system | Allows the frame, coating, fasteners, anchors, and roof operation to be matched to exposure | Confirm local engineering assumptions and storm procedures |
These recommendations are starting points for project discussions, not replacements for a site inspection or structural review. The best-looking pergola is not necessarily the best system if the foundation, drainage, or load path is unsuitable.
1. Best Aluminum Pergola Options for a Patio
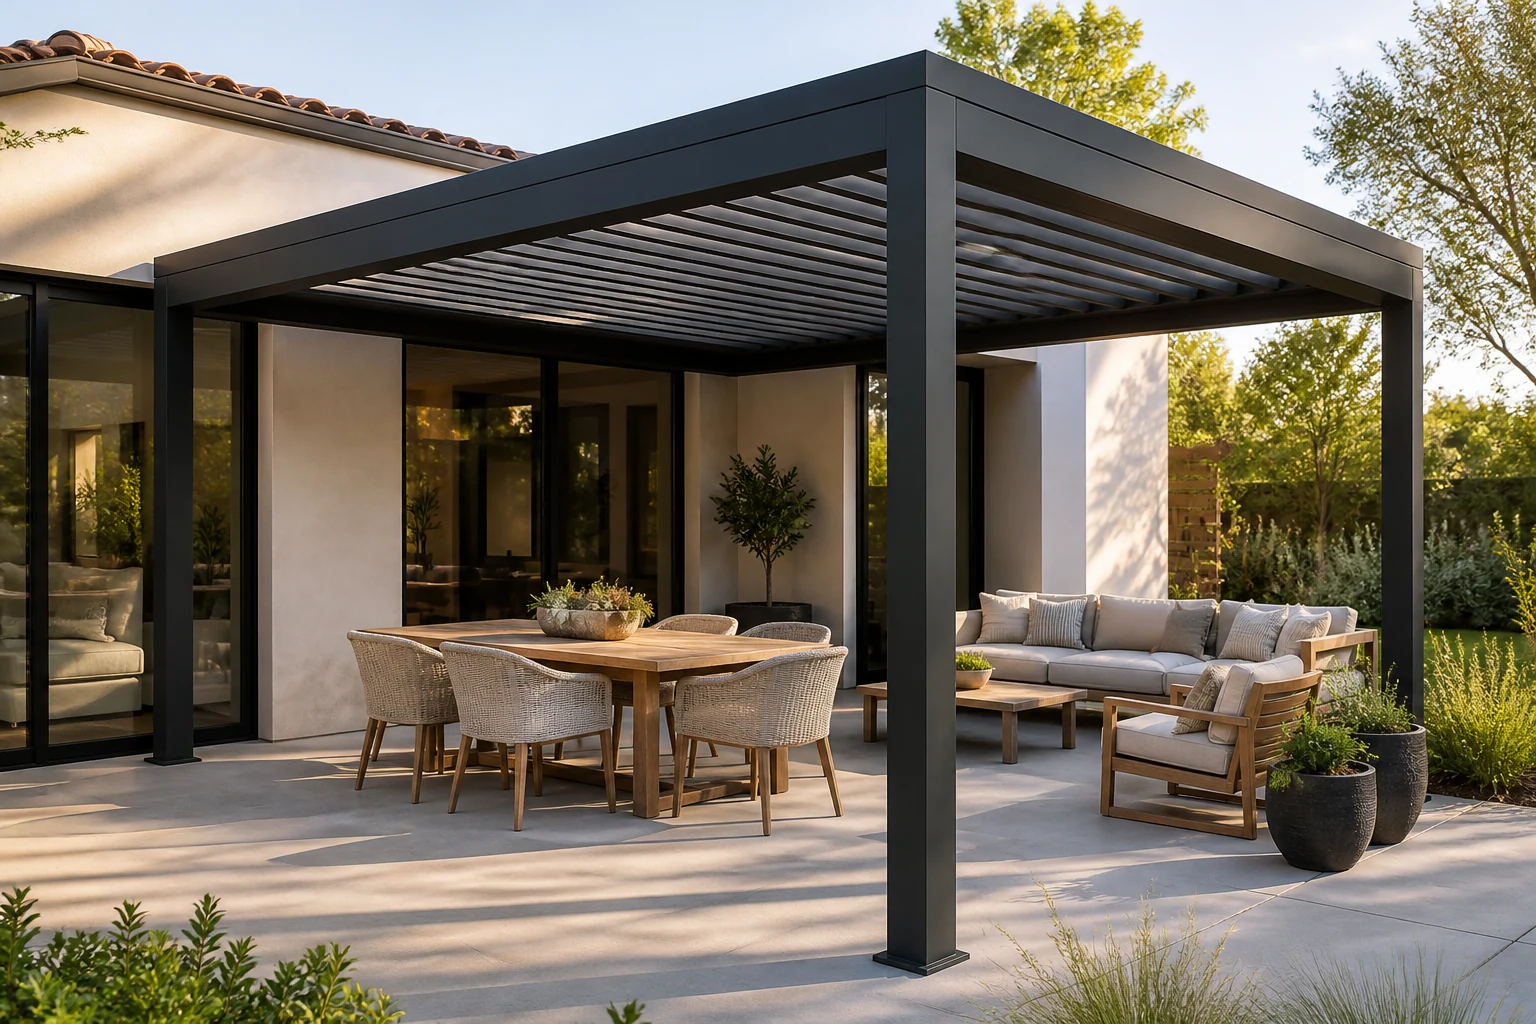
A patio is often the simplest place to install a pergola because it may already have a level concrete slab or a properly constructed terrace. However, a finished surface does not automatically mean that it can support every type of pergola.
Best Pergola Types for a Patio
For most patios, the main choice is between these three systems:
Motorized Louvered Pergola
A motorized louvered pergola works well when the patio is used throughout the day for dining, relaxing, or entertaining. The louvers can be adjusted to control sunlight and airflow, while the roof can be closed when light rain begins.
This is especially useful when the patio is next to the house and the pergola will become an extension of the living space. Integrated lighting, roller blinds, or a wall switch can be planned during the design stage.
Progolas’ motorized range includes configurations intended for residential patios and backyards, larger outdoor areas, long or narrow spaces, and compact garden corners. The correct configuration should be selected after checking the patio dimensions, post positions, roof span, climate, and desired accessories.
Manual Louvered Pergola
A manual louvered pergola can be a good fit for a smaller patio where the roof can be reached easily and electrical wiring is not needed. It has fewer electrical components and can be suitable for an off-grid or simpler outdoor space.
Choose manual operation when:
- The patio is relatively small.
- You do not need to change the roof position frequently.
- There is no convenient power supply.
- You prefer a simpler control system.
- The project does not require integrated smart features.
The manual system still needs proper post anchoring, louver alignment, drainage, and surface protection. Manual operation does not mean that the pergola can be fixed to an inadequate surface.
Retractable Aluminum Pergola
A retractable roof is suitable when you want the option of a completely open sky view as well as a covered outdoor area. It can be useful for patios that are used for both sunbathing and dining, or for homeowners who want a more flexible outdoor room.
Before choosing a retractable system, confirm:
- The required clearance for the roof to open and retract.
- Where rainwater will drain when the roof is closed.
- How the motor and tracks can be serviced.
- Whether the roof should be open, closed, or retracted before severe weather.
- Whether lighting, screens, and glass panels are compatible with the system.
Progolas’ 2220R product information describes a retractable roof, integrated drainage, LED lighting options, a mid-mounted motor, and customizable size and glass-door configurations.
How to Install a Pergola on a Patio
The patio installation should begin with the slab—not with the pergola frame.
Step 1: Inspect the Patio Surface
Check whether the slab is level, cracked, hollow, or already carrying another structure. Identify its thickness and the position of any reinforcement if anchors will be drilled into concrete.
Do not assume that decorative pavers, tiles, or pedestal systems are structural. If the finished surface is installed over another slab, the post bases may need to connect to the structural layer below.
Step 2: Confirm the Post Layout
Mark the proposed posts on the patio and check them against doors, windows, steps, furniture, outdoor kitchens, and property boundaries. The post layout should be shown on the supplier’s plan or installation drawing before production.
Step 3: Choose the Correct Anchoring Method
For a structural concrete slab, post bases may use engineered post-installed anchors or cast-in connections according to the approved design. The anchor type, diameter, embedment, spacing, and edge distance must follow the supplier’s technical documentation and local requirements.
Do not replace the specified anchors with ordinary screws simply because they are easier to install.
Step 4: Plan Drainage Before Fixing the Posts
A louvered roof may direct water into internal gutters and down through the posts. Confirm where the water will leave the posts and whether it needs to connect to a drain, downspout, soakaway, or controlled splash zone.
A pergola should not discharge water across a doorway, outdoor kitchen, seating area, or neighboring property.
Step 5: Install the Frame and Commission the Roof
Once the post bases are secure, the frame, beams, louvers, motor, wiring, and accessories can be installed. The installer should check that the structure is square, the louvers move smoothly, the roof stops at the correct limits, and the drainage path is clear.
2. Best Aluminum Pergola Options for a Backyard
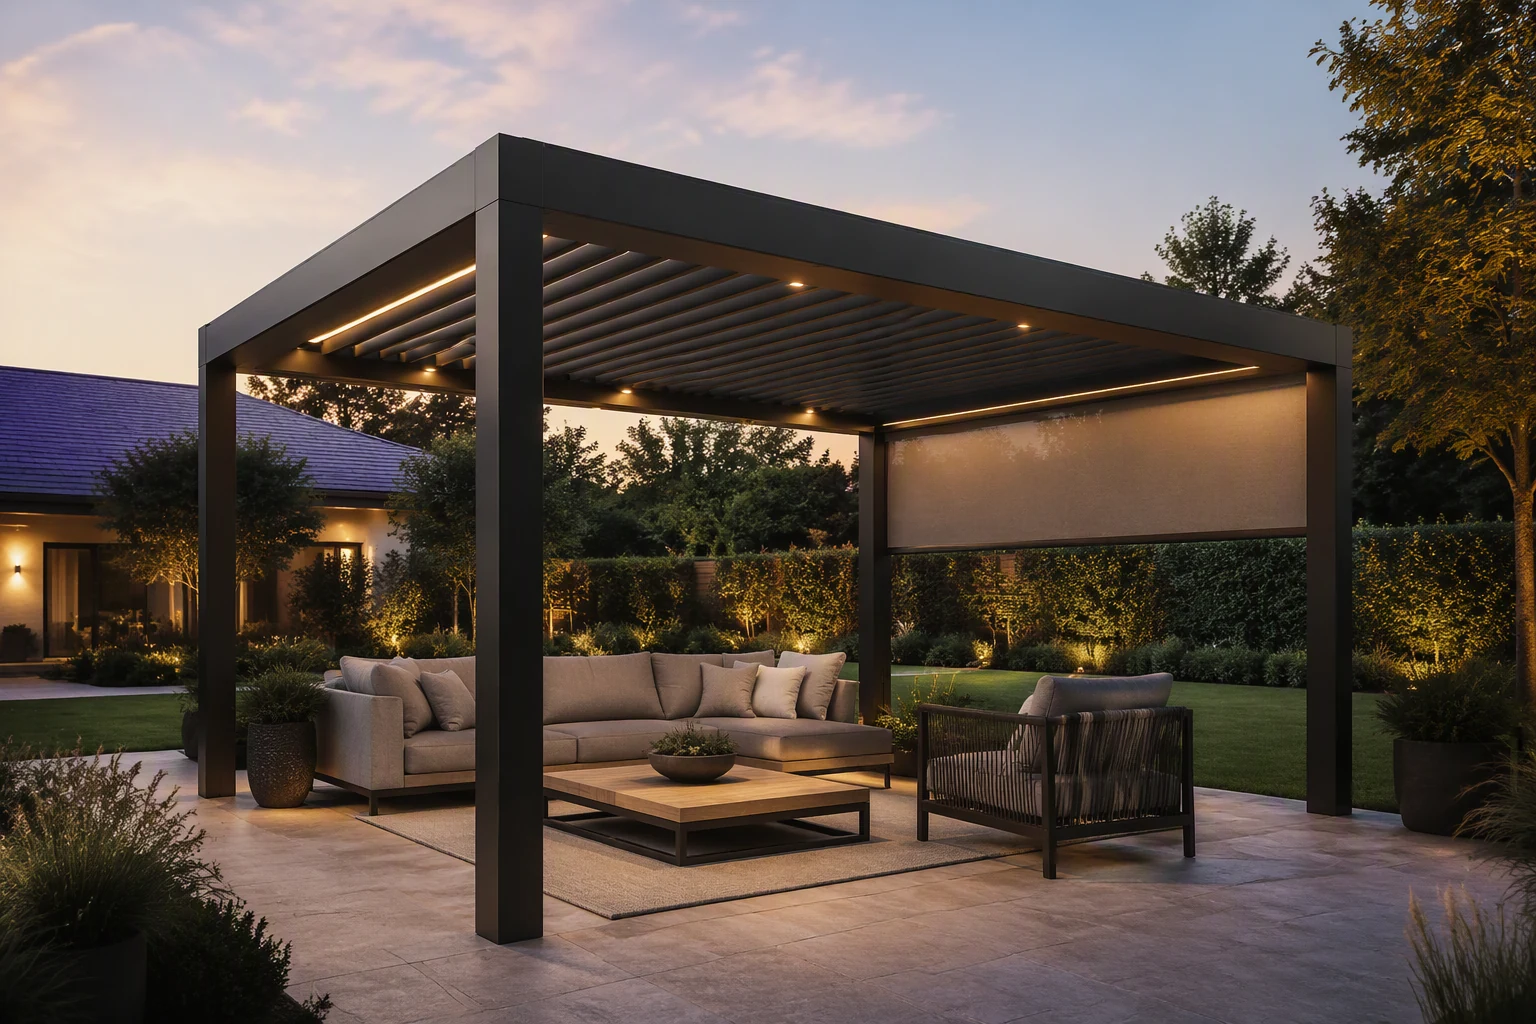
A backyard offers more freedom in layout, but it usually requires more ground preparation than a patio. The main installation decision is whether the pergola will stand on independent footings, a new slab, or another engineered foundation.
Best Pergola Types for a Backyard
Freestanding Motorized Pergola
A freestanding motorized pergola is often the most flexible choice for a backyard lounge, dining zone, poolside area, or outdoor kitchen. It can be positioned away from the house and adjusted to create a separate outdoor room.
Choose this direction when you want:
- Adjustable shade during different parts of the day.
- A defined seating or dining area away from the house.
- Integrated lighting for evening use.
- Roller blinds or screens for privacy and low-angle sun.
- Future options for fans, heaters, or other outdoor equipment.
A freestanding pergola also makes it easier to avoid attaching the structure to the house. That may simplify the design, but it still needs a proper foundation and resistance to wind uplift.
Manual Backyard Pergola
A manual pergola is suitable for a garden corner, a smaller sitting area, or a location where the owner wants a lower-complexity system. It is also worth considering when a power supply would be expensive or difficult to bring to the site.
Pergola over an Outdoor Kitchen or Pool
An outdoor kitchen or poolside pergola should be designed around water movement, ventilation, cleaning, and electrical safety. The roof should provide shade without trapping cooking heat, and the drainage should not run into the kitchen work zone or pool circulation area.
In a Progolas outdoor kitchen project in the United States, a ValueMax 2115 system was installed over a poolside outdoor kitchen with integrated lighting and privacy elements. The project demonstrates the importance of coordinating the pergola with the grill, oven, cooktop, dining table, pool edge, and walking routes before installation.
How to Install a Pergola in a Backyard
Step 1: Survey the Ground
Before digging, identify underground electrical cables, gas lines, irrigation pipes, drainage, and tree roots. Check the site level and determine whether the soil is stable enough for the proposed foundation.
The location should also be reviewed for wind exposure, surface water, snow where applicable, and access for delivery and assembly.
Step 2: Select the Foundation Method
A backyard pergola may require independent concrete footings, a new reinforced slab, or another engineered foundation. The right method depends on the soil, pergola size, local frost conditions, wind, snow, and the manufacturer’s post-base details.
The foundation must transfer vertical loads, lateral forces, and wind uplift. A shallow decorative pad may not be suitable for a large louvered roof.
Step 3: Set Out the Posts Accurately
The post positions determine the roof dimensions, gutter direction, furniture layout, and access around the pergola. Check the diagonals so the footprint is square before the concrete or anchors are finalized.
If the design includes screens, sliding glass doors, or a motorized roof, confirm their tracks and service clearances at this stage.
Step 4: Install the Frame and Drainage
After the foundation reaches the required condition, install the post bases, columns, beams, roof system, and drainage components. Keep the internal gutters and drainage outlets free from concrete, soil, packaging, and debris.
Step 5: Complete Electrical and Accessory Work
Motorized louvers, LED lighting, heaters, fans, and screens may require separate electrical circuits or control wiring. Outdoor electrical work should be completed by a qualified professional according to local requirements.
Do not add a heater, fan, or other high-load equipment after installation without checking the structural mounting point, power capacity, and control compatibility.
3. Best Aluminum Pergola Options for a Deck
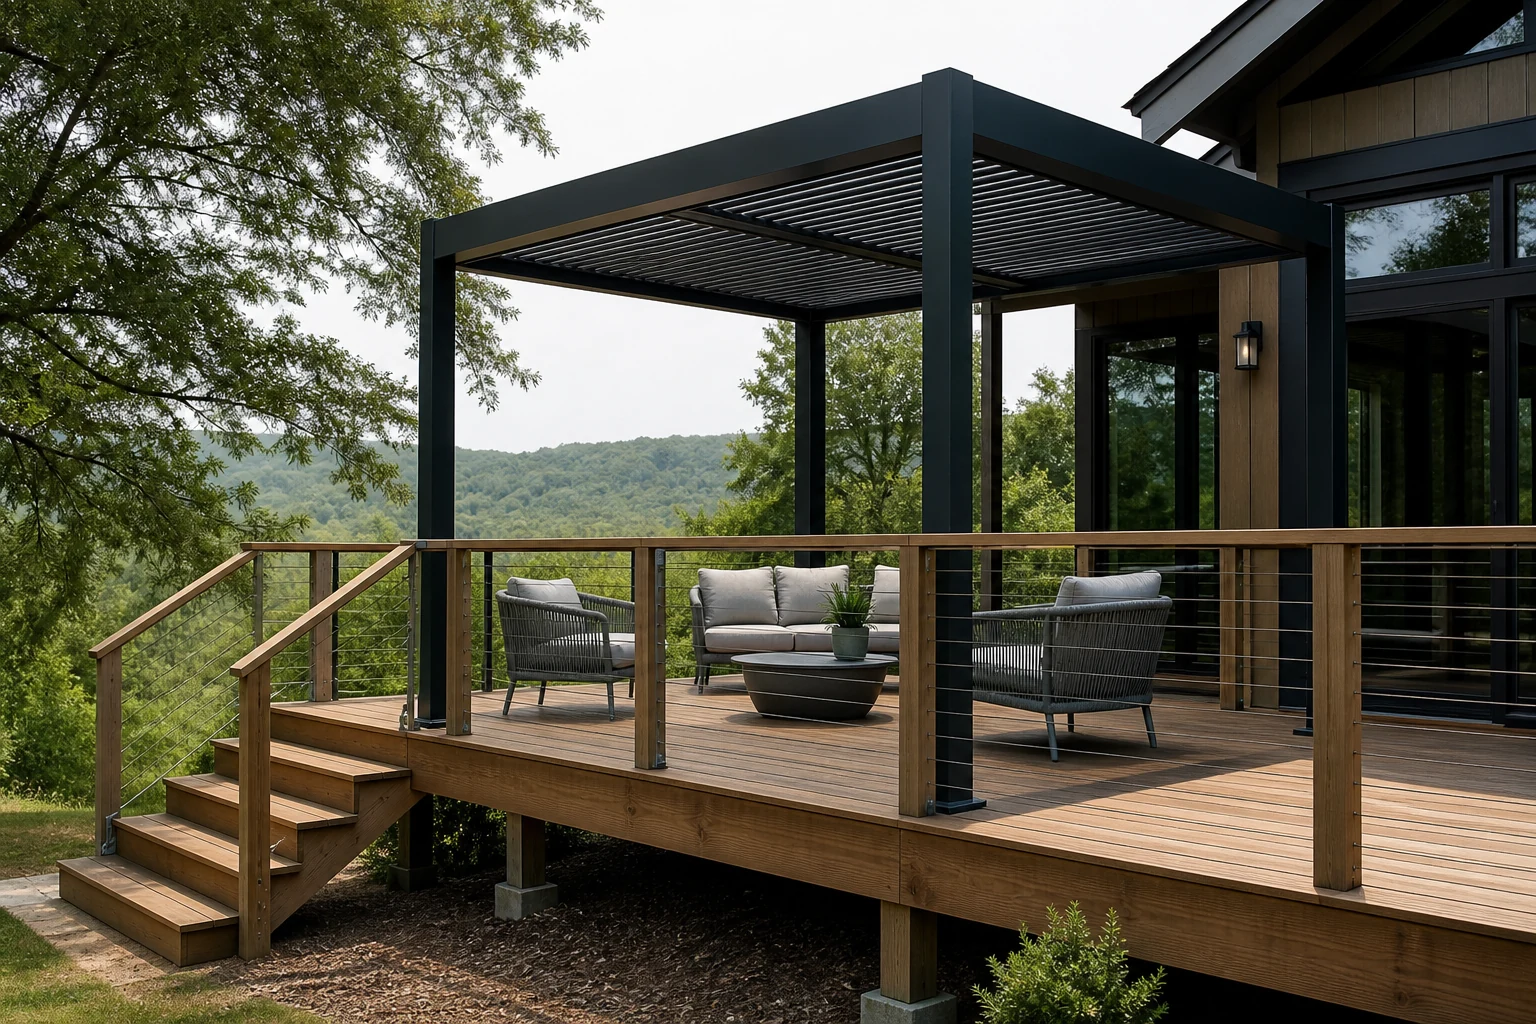
A deck can be an excellent location for a pergola, but it is also the location where installation mistakes are most likely to cause structural problems.
The key rule is simple:
A pergola must be connected to the deck’s structural framing—not just to the deck boards.
Deck boards, composite boards, and surface tiles are finishes. They do not automatically provide the capacity or connection needed to resist a roofed structure’s wind uplift and lateral movement.
Best Pergola Types for a Deck
Compact Motorized Pergola
A compact motorized system may suit a smaller deck where the owner wants adjustable shade but does not want a large, visually heavy structure. Progolas positions its SmartBase 1410 configuration for smaller decks, balconies, and garden corners.
Even for a compact pergola, confirm the load path and post-base connections before ordering.
Manual Louvered Pergola
A manual roof can be appropriate for a small or moderately sized deck when the louvers are easy to operate and the deck has suitable structural support. It can reduce electrical work, but it does not remove the need for structural review.
Custom Pergola for a Large or Exposed Deck
A large deck, elevated terrace, or exposed coastal location may need a custom design. The design may require additional framing, steel support members, reinforced post locations, special waterproofing, or a different foundation approach.
Do not select a heavy retractable or motorized roof for a raised deck based only on the available floor area. First determine whether the deck and its supporting structure can carry the complete system and resist wind forces.
How to Install a Pergola on a Deck
Step 1: Open the Deck Information, Not Just the Surface
Find out whether the deck is supported by wood joists and beams, a steel frame, or a concrete slab. Locate the structural members below each proposed post.
If there are no suitable beams or joists below the proposed positions, the deck may need reinforcement or the pergola may need to be relocated.
Step 2: Design the Post Bases around the Framing
The post bases should transfer loads into primary framing. Depending on the structure, this may involve through-bolts with backing plates, engineered steel shoes, reinforced joists, or connections to steel members.
Lag screws fixed only into decking or thin blocking are not automatically equivalent to a structural connection.
Step 3: Protect the Waterproofing
Every penetration through a deck or roof-terrace waterproofing layer must be detailed carefully. Use compatible flashing, membrane patches, gaskets, and sealants according to the deck construction and the approved installation method.
Water must not be trapped around the post base. Keep the drainage slope and weep paths open.
Step 4: Add Temporary Bracing during Assembly
An elevated frame may be unstable while the beams and roof are being installed. Use temporary bracing and safe working platforms as required. Follow the installation sequence provided by the manufacturer.
Step 5: Inspect the Finished Connection
Before commissioning, inspect anchor positions, bolt torque, post plumb, beam alignment, roof movement, drainage, wiring, and accessory fixings. Recheck the connection after the first period of use and after significant weather, following the manufacturer’s maintenance instructions.
4. How to Match the Roof Style to the Location
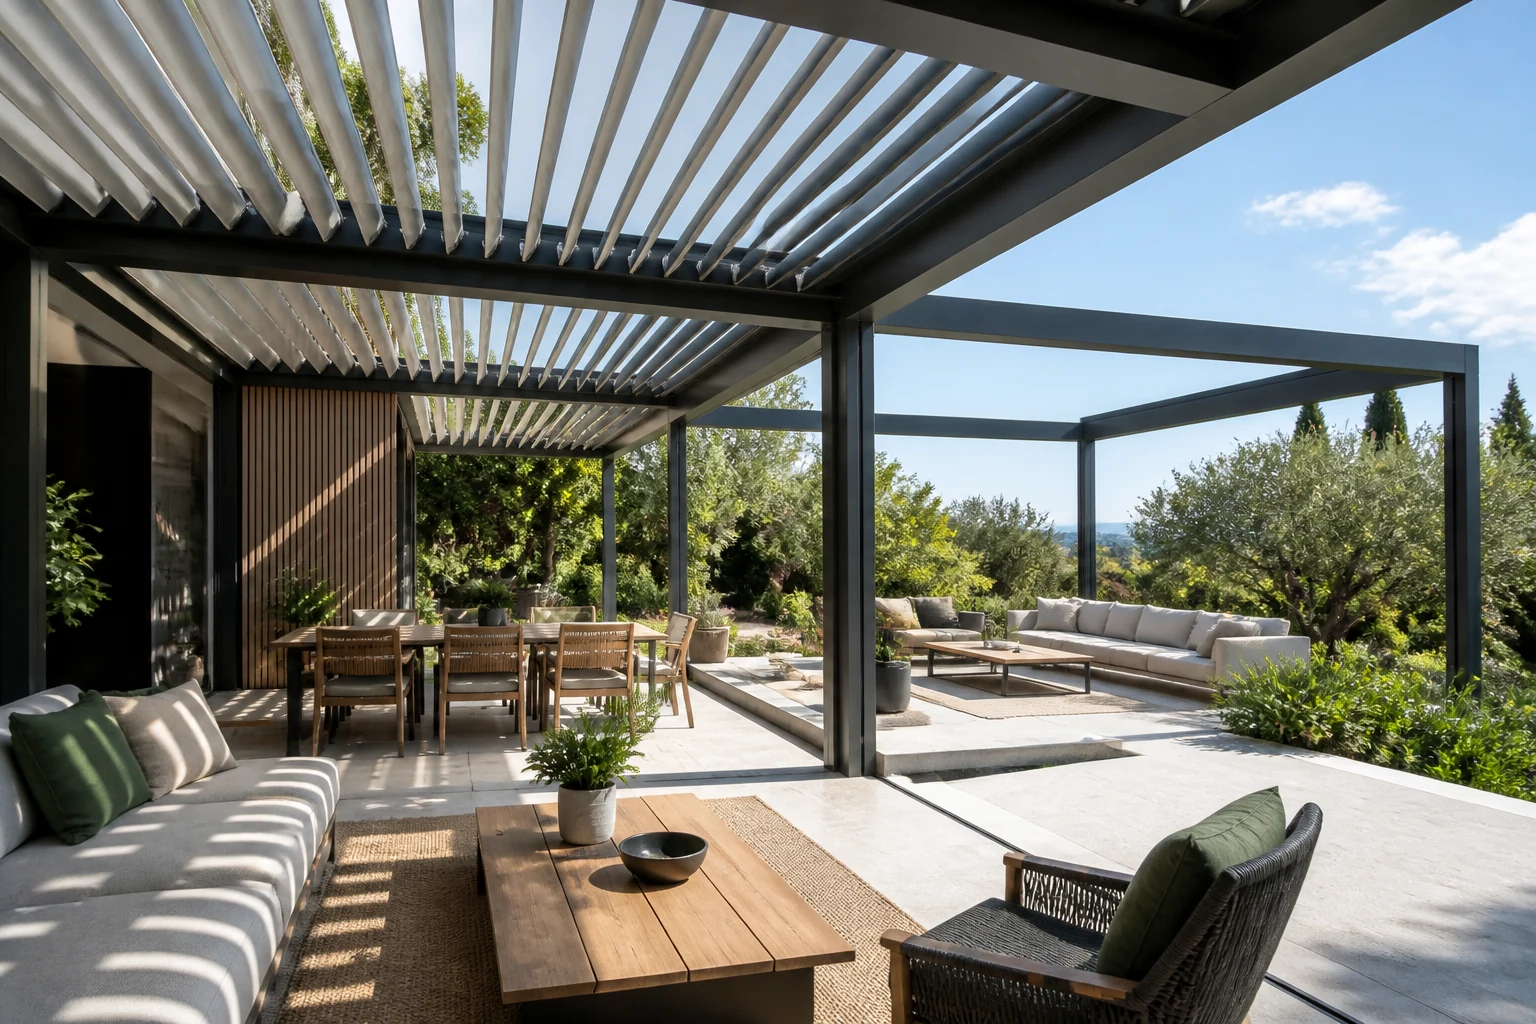
The location helps determine the foundation and anchoring. Your daily use helps determine the roof style.
Choose Motorized Louvers When:
- You will adjust shade and ventilation frequently.
- The pergola is large or difficult to reach.
- You want remote, wall-switch, or app-based control.
- You plan to integrate lighting, screens, or other controls.
- The pergola is part of a frequently used outdoor living area.
Choose Manual Louvers When:
- The pergola is small enough to operate comfortably by hand.
- You want fewer electrical components.
- The site has no convenient power supply.
- A simpler, lower-complexity system meets your needs.
Choose a Retractable Roof When:
- You want both an open-sky view and a covered roof.
- The roof needs to retract rather than only tilt.
- There is enough space for the retracting mechanism and tracks.
- You are prepared to coordinate drainage, motor access, and maintenance.
The roof style should always be checked against local wind and weather procedures. A roof that is convenient in normal conditions may need a specific position before severe weather.
5. Installation Requirements That Apply to All Three Locations
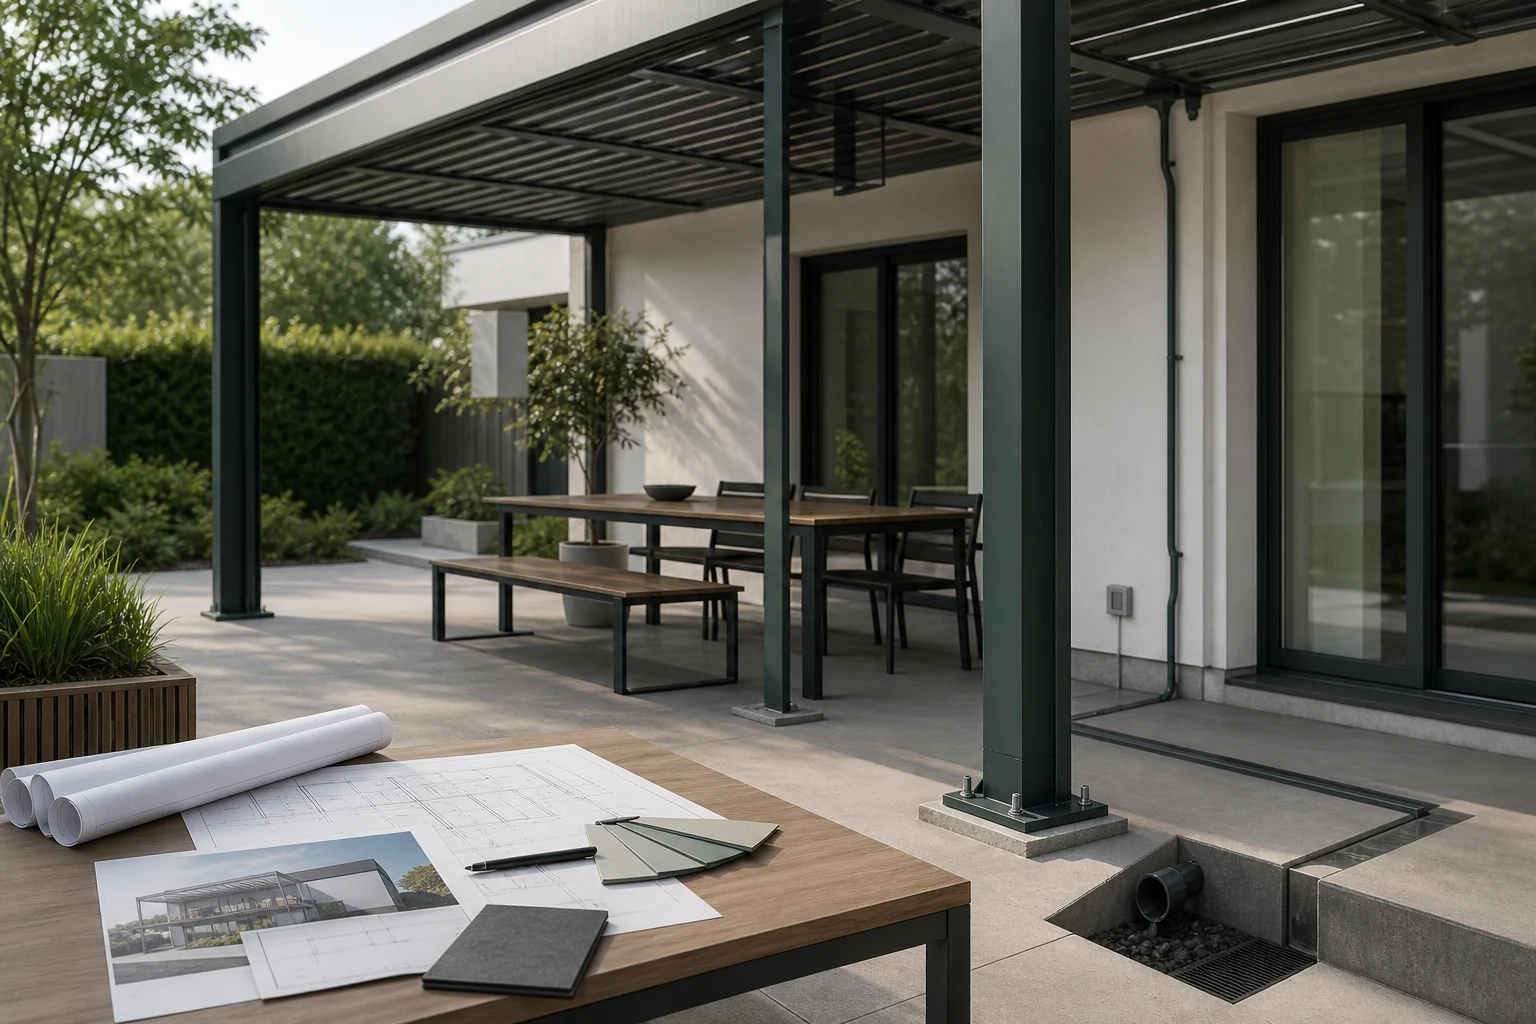
Although patio, backyard, and deck installations are different, every aluminum pergola project should address the same core items.
Structural Support
Confirm the foundation, slab, deck framing, or roof terrace can carry the structure and resist local wind, snow, and other environmental loads. The final assessment should be based on the actual site and product configuration.
Post Anchoring
Ask for the post-base drawing and anchor schedule. The connection should identify the anchor type, quantity, spacing, embedment, and substrate requirements.
Drainage
Ask where water enters the gutter, how it moves through the structure, and where it exits. A concealed drainage system is only useful if the outlet is connected to a practical discharge location.
Electrical Safety
Motorized roofs, LED lights, heaters, fans, sensors, and screens may require separate electrical planning. Outdoor electrical work should be completed and inspected according to local requirements.
Access for Service
Leave enough room to access motors, controls, drainage outlets, seals, screens, and fasteners. A pergola that cannot be serviced easily may cost more to maintain over time.
Permits and Property Rules
Check building permits, zoning restrictions, HOA rules, electrical approvals, property lines, and local height or setback requirements before production. These requirements vary by location.
6. A Practical Installation Sequence
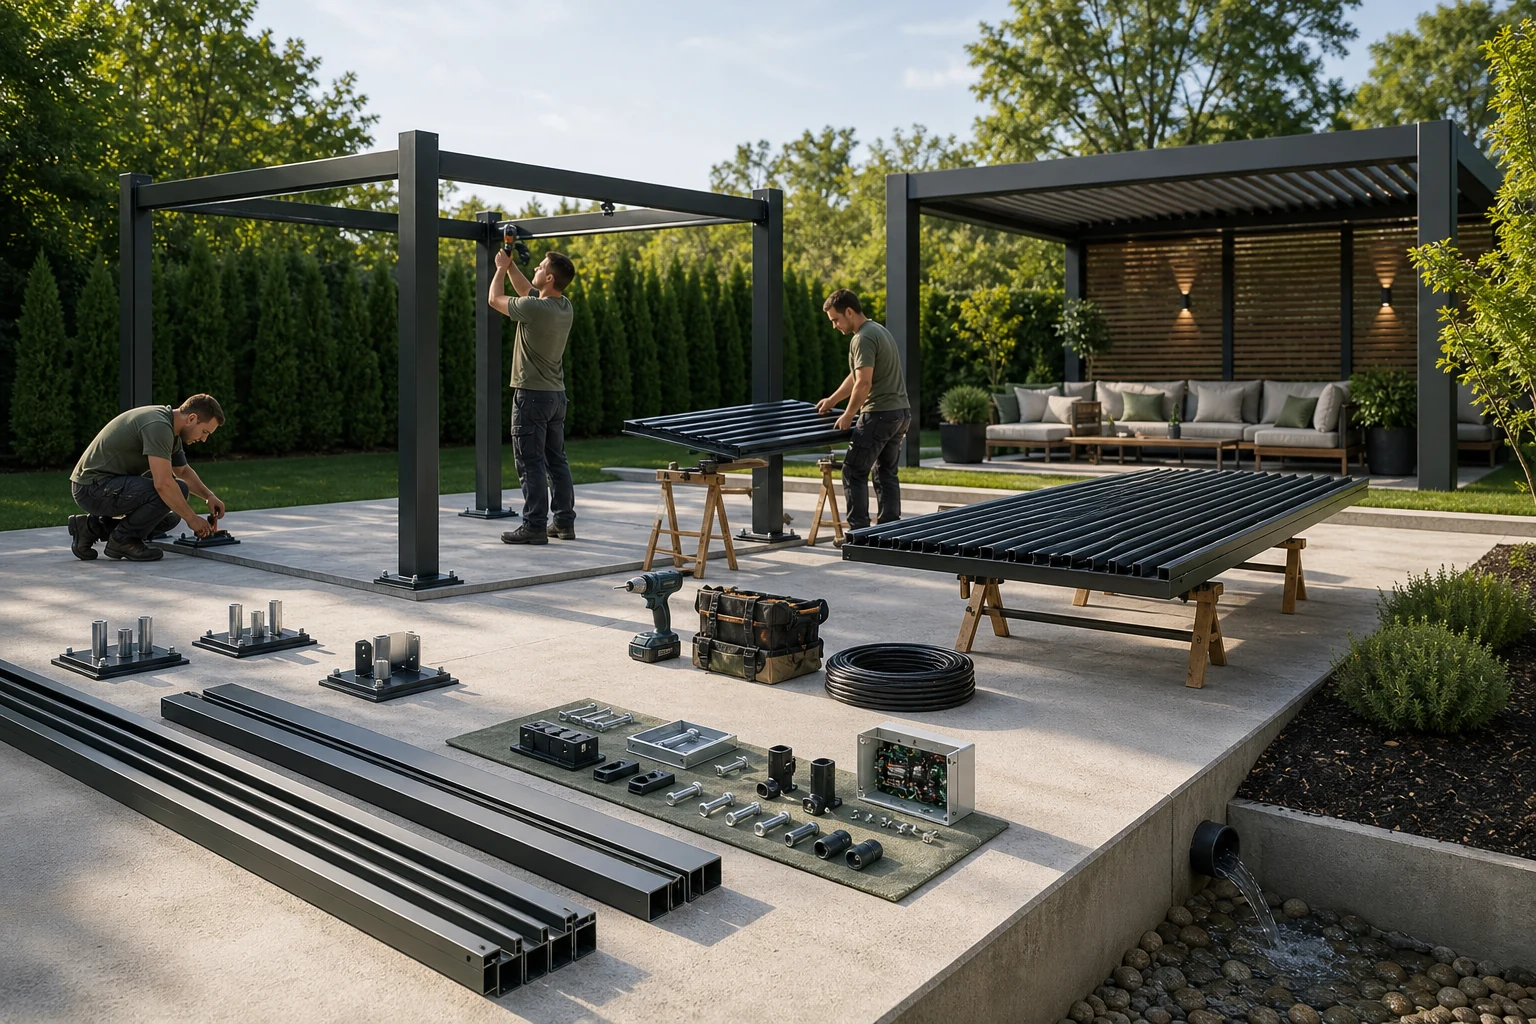
A professional installation normally follows a sequence similar to this:
- Confirm the site: measure the space, identify obstacles, check the surface, and verify access.
- Prepare the design: finalize dimensions, post positions, roof type, drainage, colors, accessories, and electrical points.
- Review the structure: check the slab, foundation, deck framing, or roof terrace and approve the anchoring method.
- Obtain approvals: confirm permits, HOA approval, engineering documents, and electrical requirements where applicable.
- Prepare the foundation or substrate: complete footings, slab repairs, deck reinforcement, or waterproofing details.
- Set the post bases: position and fix the anchors according to the approved drawing.
- Erect the frame: install posts and beams, check the diagonals, and verify that the frame is plumb and square.
- Install the roof: fit louvers or retractable blades, drive mechanisms, seals, gutters, and roof-end details.
- Install controls and accessories: connect motors, lighting, screens, glass tracks, heaters, fans, or sensors as specified.
- Test and commission: operate the roof, check limits and noise, test drainage, inspect fasteners, and record the handover condition.
The exact sequence may change with the product and site. Follow the manufacturer’s installation documents rather than improvising connection or electrical details.
7. Common Installation Mistakes to Avoid
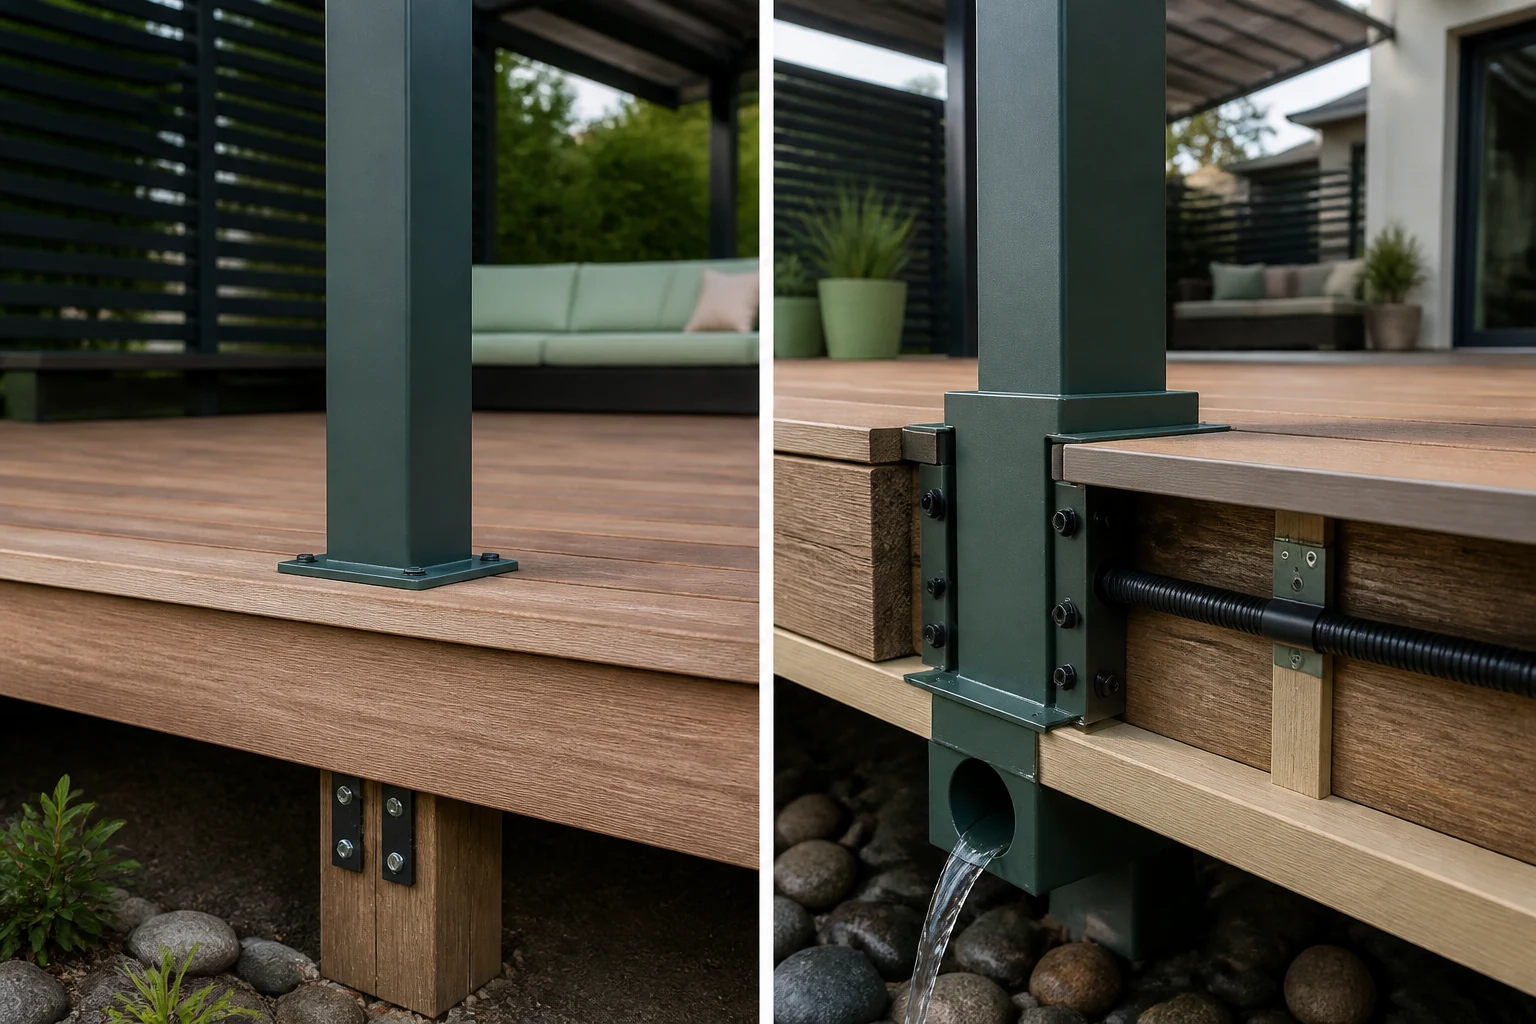
Fixing a Pergola to Deck Boards Only
This is one of the most serious mistakes. The posts need a load path to joists, beams, steel framing, or a structural slab.
Ignoring Drainage until the End
If the drainage outlet is not planned early, water may discharge over a doorway, kitchen, seating area, or deck edge where it causes damage.
Choosing a Roof before Checking the Foundation
A large motorized or retractable roof may be unsuitable for a weak patio surface, unreinforced deck, or shallow backyard footing.
Adding Electrical Accessories after Installation
Heaters, fans, lighting, and screens need mounting points, power capacity, cable routes, and controls. Include them in the design proposal.
Treating a Generic Performance Number as a Site Guarantee
Wind and snow performance depend on the complete installation and local conditions. Ask for the design assumptions and required anchoring for your location.
Forgetting Maintenance Access
Keep gutters, motors, controls, and screens accessible. A neat appearance should not prevent basic inspection and servicing.
8. Which Progolas Configuration Should You Discuss First?
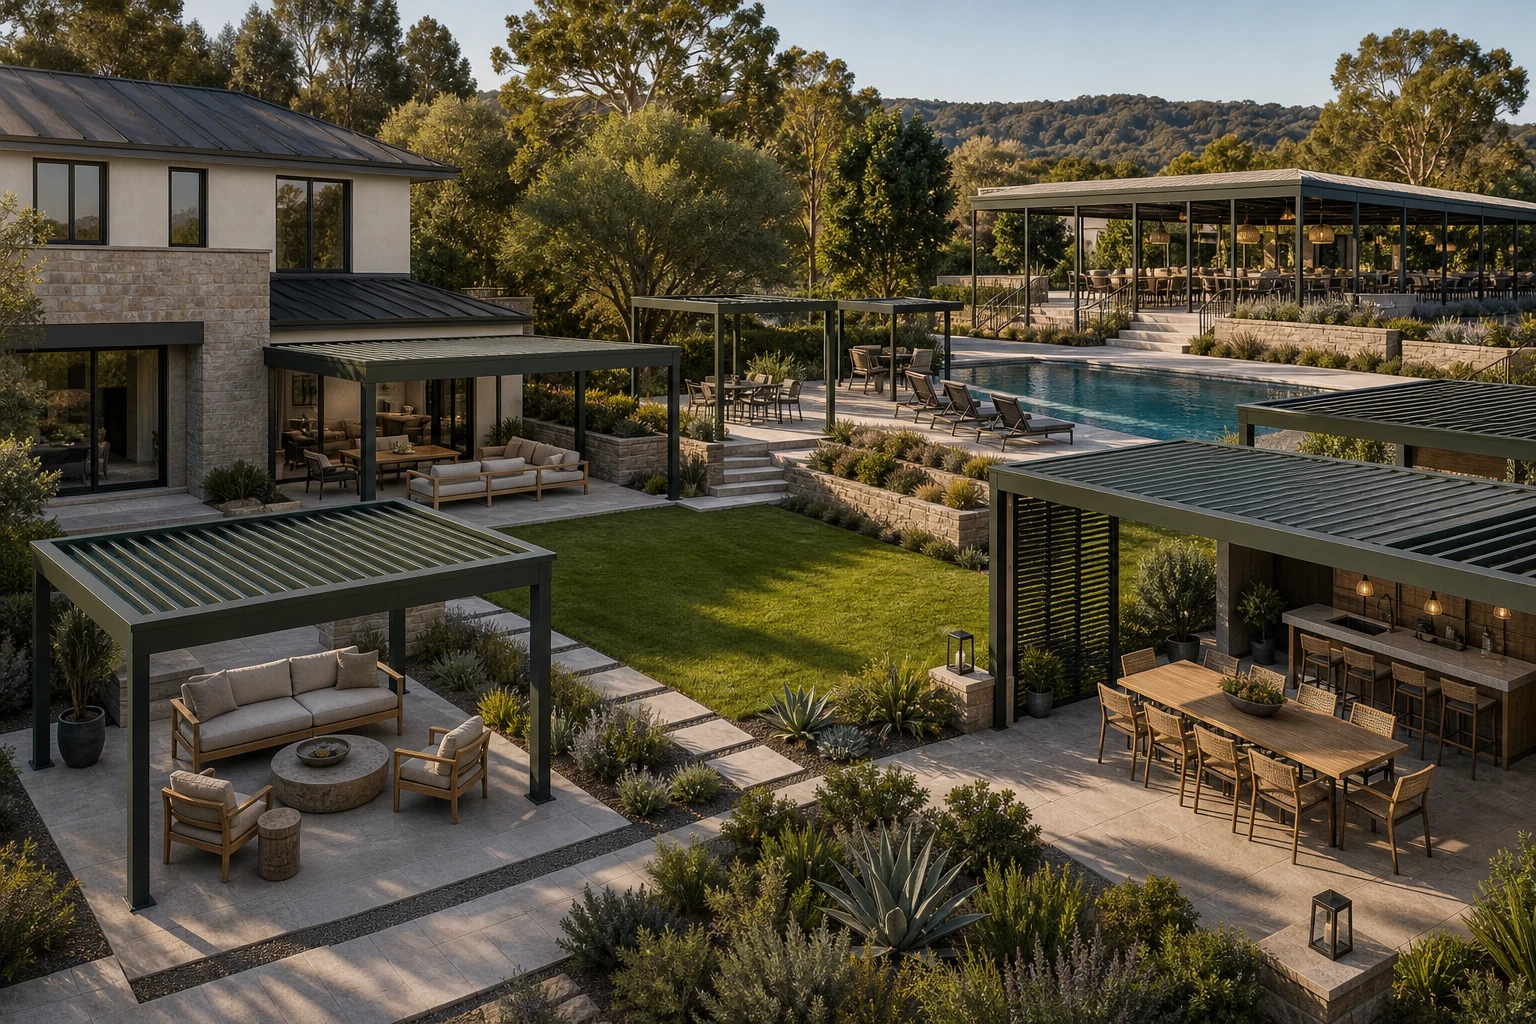
Progolas presents several aluminum pergola configurations for different space types. Use the following as a starting point for a project discussion:
- SmartBase 1410: a compact configuration for smaller decks, balconies, and garden corners.
- PrimeEdge 2015: positioned for residential patios, backyards, and decks with smart control options.
- ValueMax 2115: suitable for long or narrow areas such as poolside spaces and walkways, with customizable size and color.
- Architect Pro 2117: intended for larger outdoor areas, commercial venues, and more demanding project applications.
- Retractable Roof 2220R: for projects that need both retractable open-sky use and a covered roof configuration.
The model name is only the beginning. The supplier should still confirm the required profile, dimensions, roof span, anchoring, drainage, controls, finish, accessories, and local engineering requirements.
9. What to Send a Manufacturer before Requesting a Quote

A useful inquiry should include more than “I need a pergola.” Send:
- Project country, city, and climate exposure.
- Location type: patio, backyard, deck, roof terrace, poolside, or outdoor kitchen.
- Width, length, and available height.
- Photos and a simple plan of the site.
- Surface type and, for a deck, the framing information if available.
- Preferred roof: motorized, manual, or retractable.
- Desired color and finish.
- Lighting, screens, glass doors, heaters, fans, or sensors.
- Drainage preferences and existing outlets.
- Quantity and delivery requirements.
- Permit, HOA, or engineering requirements already identified.
With this information, the manufacturer can prepare a more useful proposal with drawings, a bill of materials, an installation method, and a clearer total cost.
Conclusion: Choose the Location First, Then the Pergola
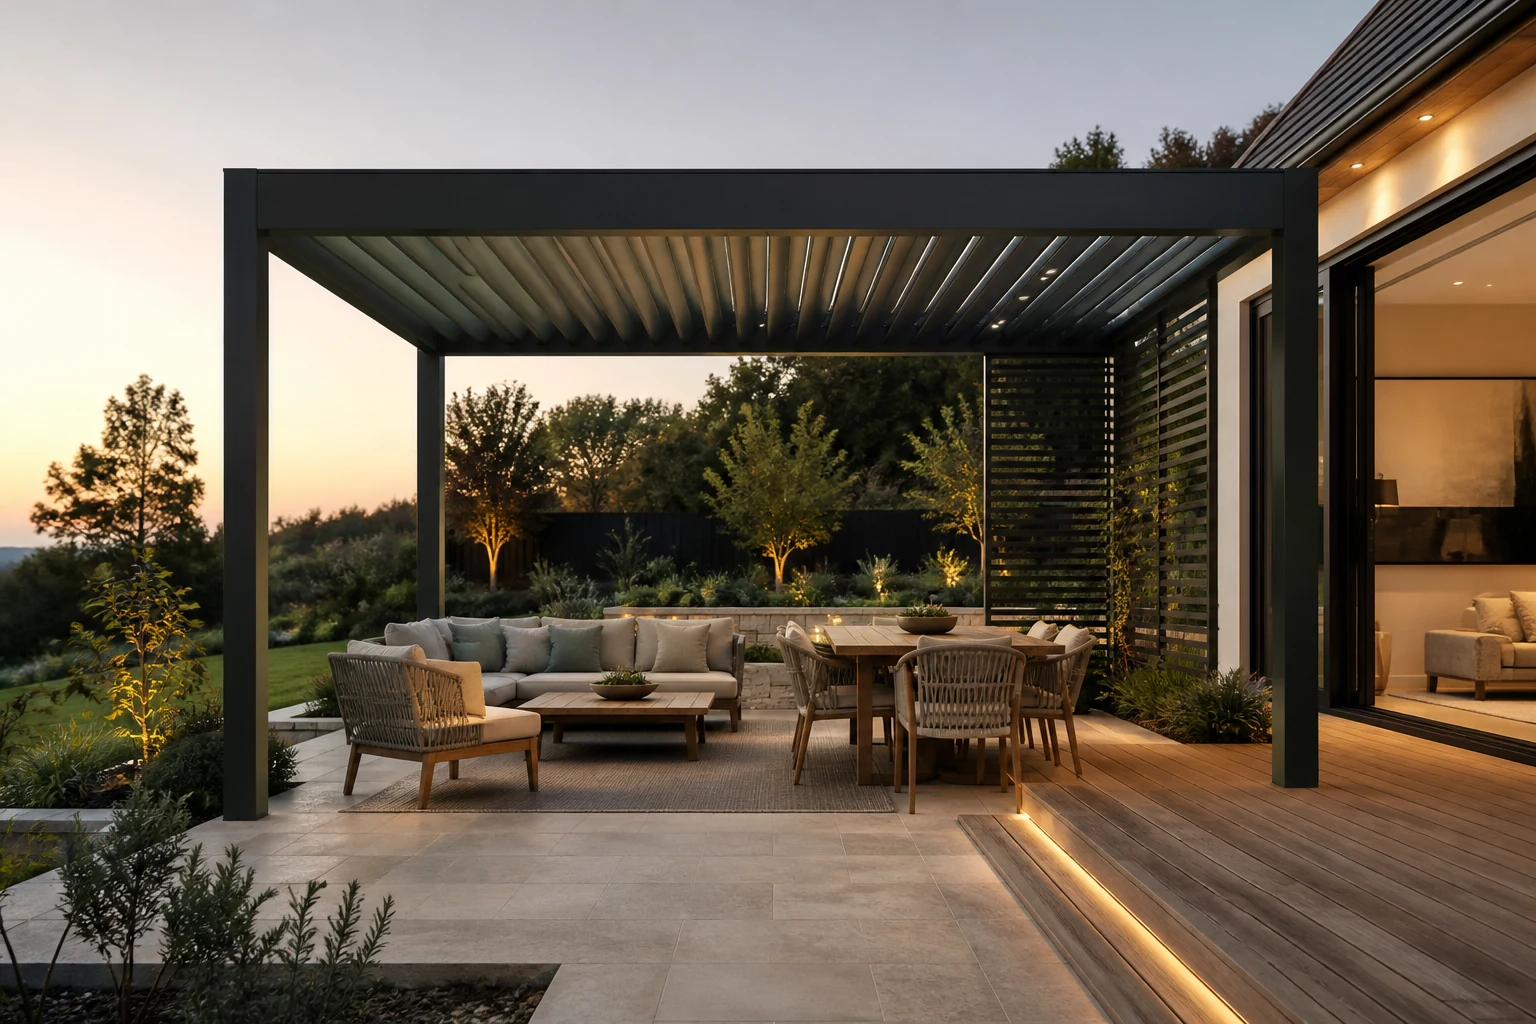
The right aluminum pergola is determined by two things: where it will be installed and how that location is supported.
- For a patio, focus on the slab, post-base anchors, drainage, and power route. A motorized louvered, manual, or retractable system may work depending on your use.
- For a backyard, focus on independent footings, soil, level, underground utilities, and water runoff. A freestanding motorized pergola is often flexible for dining, lounging, poolside use, or an outdoor kitchen.
- For a deck, focus first on joists, beams, steel framing, waterproofing, and wind uplift. Never anchor the pergola to deck boards alone.
Once the installation conditions are understood, choose the roof operation, accessories, color, and product configuration. A good pergola proposal should explain not only what the product looks like, but also how it will be supported, how water will leave the roof, how the system will be powered, and how it will be maintained.
Ready to Find the Best Aluminum Pergola for Your Project?
Compare the available roof systems, share your site dimensions and installation conditions, and request a project-specific proposal from Progolas.
Explore Progolas motorized aluminum pergolas
Compare Progolas manual aluminum pergolas
See the Progolas 2220R retractable pergola
Read the raised deck pergola safety guide
Request a Custom Aluminum Pergola Quote
Frequently Asked Questions
What type of aluminum pergola is best for a patio?
A patio may suit a motorized louvered pergola, manual louvered pergola, or retractable roof system. The choice depends on the patio size, slab condition, desired shade control, power availability, and whether you need an open-sky option.
What type of pergola is best for a backyard?
A freestanding pergola with independent footings is often flexible for a backyard. Motorized louvers are useful for spaces used throughout the day, while manual louvers may suit smaller or off-grid garden areas. Outdoor kitchens and poolside pergolas usually require custom drainage and electrical planning.
Can an aluminum pergola be installed on a raised deck?
Yes, but the posts must connect to structural joists, beams, steel framing, or a structural slab. They should not be fixed to deck boards alone. A contractor or engineer should review the deck capacity, anchoring, waterproofing, and local requirements before installation.
Does a patio need a concrete foundation for a pergola?
It needs a structurally suitable substrate and an approved anchoring method. A sound concrete slab may be suitable for some installations, while decorative pavers, tiles, or a damaged slab may require a different foundation or reinforcement approach.
How is a backyard pergola anchored?
A backyard pergola is commonly installed on independent concrete footings, a reinforced slab, or another engineered foundation. The correct method depends on soil, climate, pergola size, wind and snow exposure, and the manufacturer’s post-base design.
Where does the water go when a louvered pergola is closed?
In a properly designed system, water flows from the louvers into gutters and then through a controlled drainage route, often inside the posts. Confirm the outlet location before installation so water does not discharge over doors, kitchens, seating, or neighboring property.
Should I choose a manual or motorized pergola?
Choose motorized operation when you want frequent adjustment, remote control, integrated lighting, or a larger roof. Choose manual operation when the pergola is smaller, easy to reach, and you prefer fewer electrical components.
Do I need professional installation?
Professional installation is strongly recommended for large, motorized, retractable, raised-deck, coastal, or custom pergolas. It is particularly important when anchoring, structural reinforcement, waterproofing, or outdoor electrical work is involved.
What should be checked before installation?
Check the site dimensions, substrate or framing, post layout, foundation, anchors, drainage, power route, permits, HOA rules, delivery access, and maintenance clearances. These items should be settled before production begins.