

🔨 The Ultimate DIY Pergola Guide: From Concept to Construction
To build your own pergola is one of the most rewarding and transformative projects a homeowner can undertake. It’s the kind of weekend project that turns a forgotten corner of your patio into the new heart of your home.
But let’s be honest: the idea of how to DIY a Pergola is both exciting and deeply intimidating. The gap between a beautiful inspiration picture and a solid, level, and safe finished structure is wide and filled with potential pitfalls.

As experts who have helped hundreds of customers realize their backyard dreams (and as a factory that sees the engineering behind these structures every day), we understand every trap and every shortcut in the DIY process.
This guide is our ultimate blueprint for you. We will walk you through the entire journey, from finding your initial inspiration in pergola images to understanding complex pergola construction plans and finally, to the exciting upgrade phase. We will provide you with do it yourself diy pergola plans and concepts to make this journey successful, safe, and satisfying.
The Classic Definition
When we talk about building your own pergola, we’re not just talking about any random shade structure. By the classic definition, a pergola is an open-roof framework of posts and crossbeams that creates a shaded walkway or sitting area and often supports climbing plants.
Part 1. The Inspiration Gallery: Finding Your Perfect Pergola Style
Before you buy a single piece of lumber or research any diy pergola kits, you need a clear vision. The right design complements your home’s architecture and fits your lifestyle. Let’s start by exploring some of the most popular outdoor patio pergola ideas.
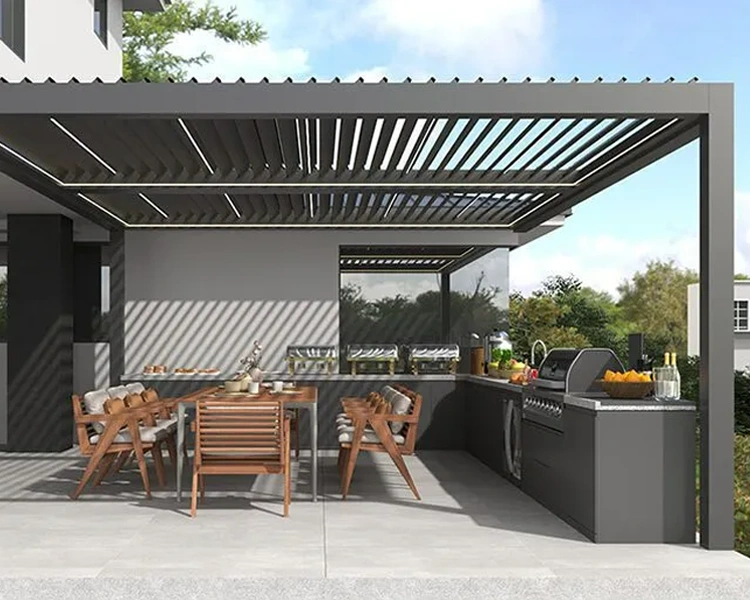
Simple Pergola Ideas for Modern Backyards
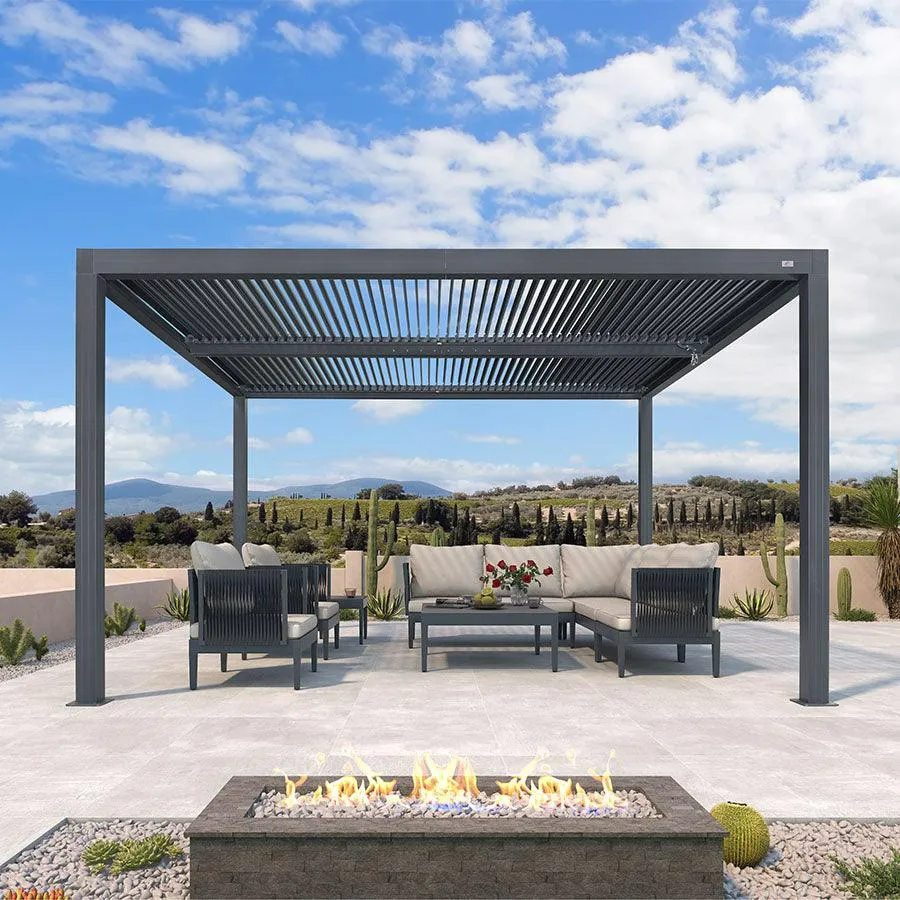
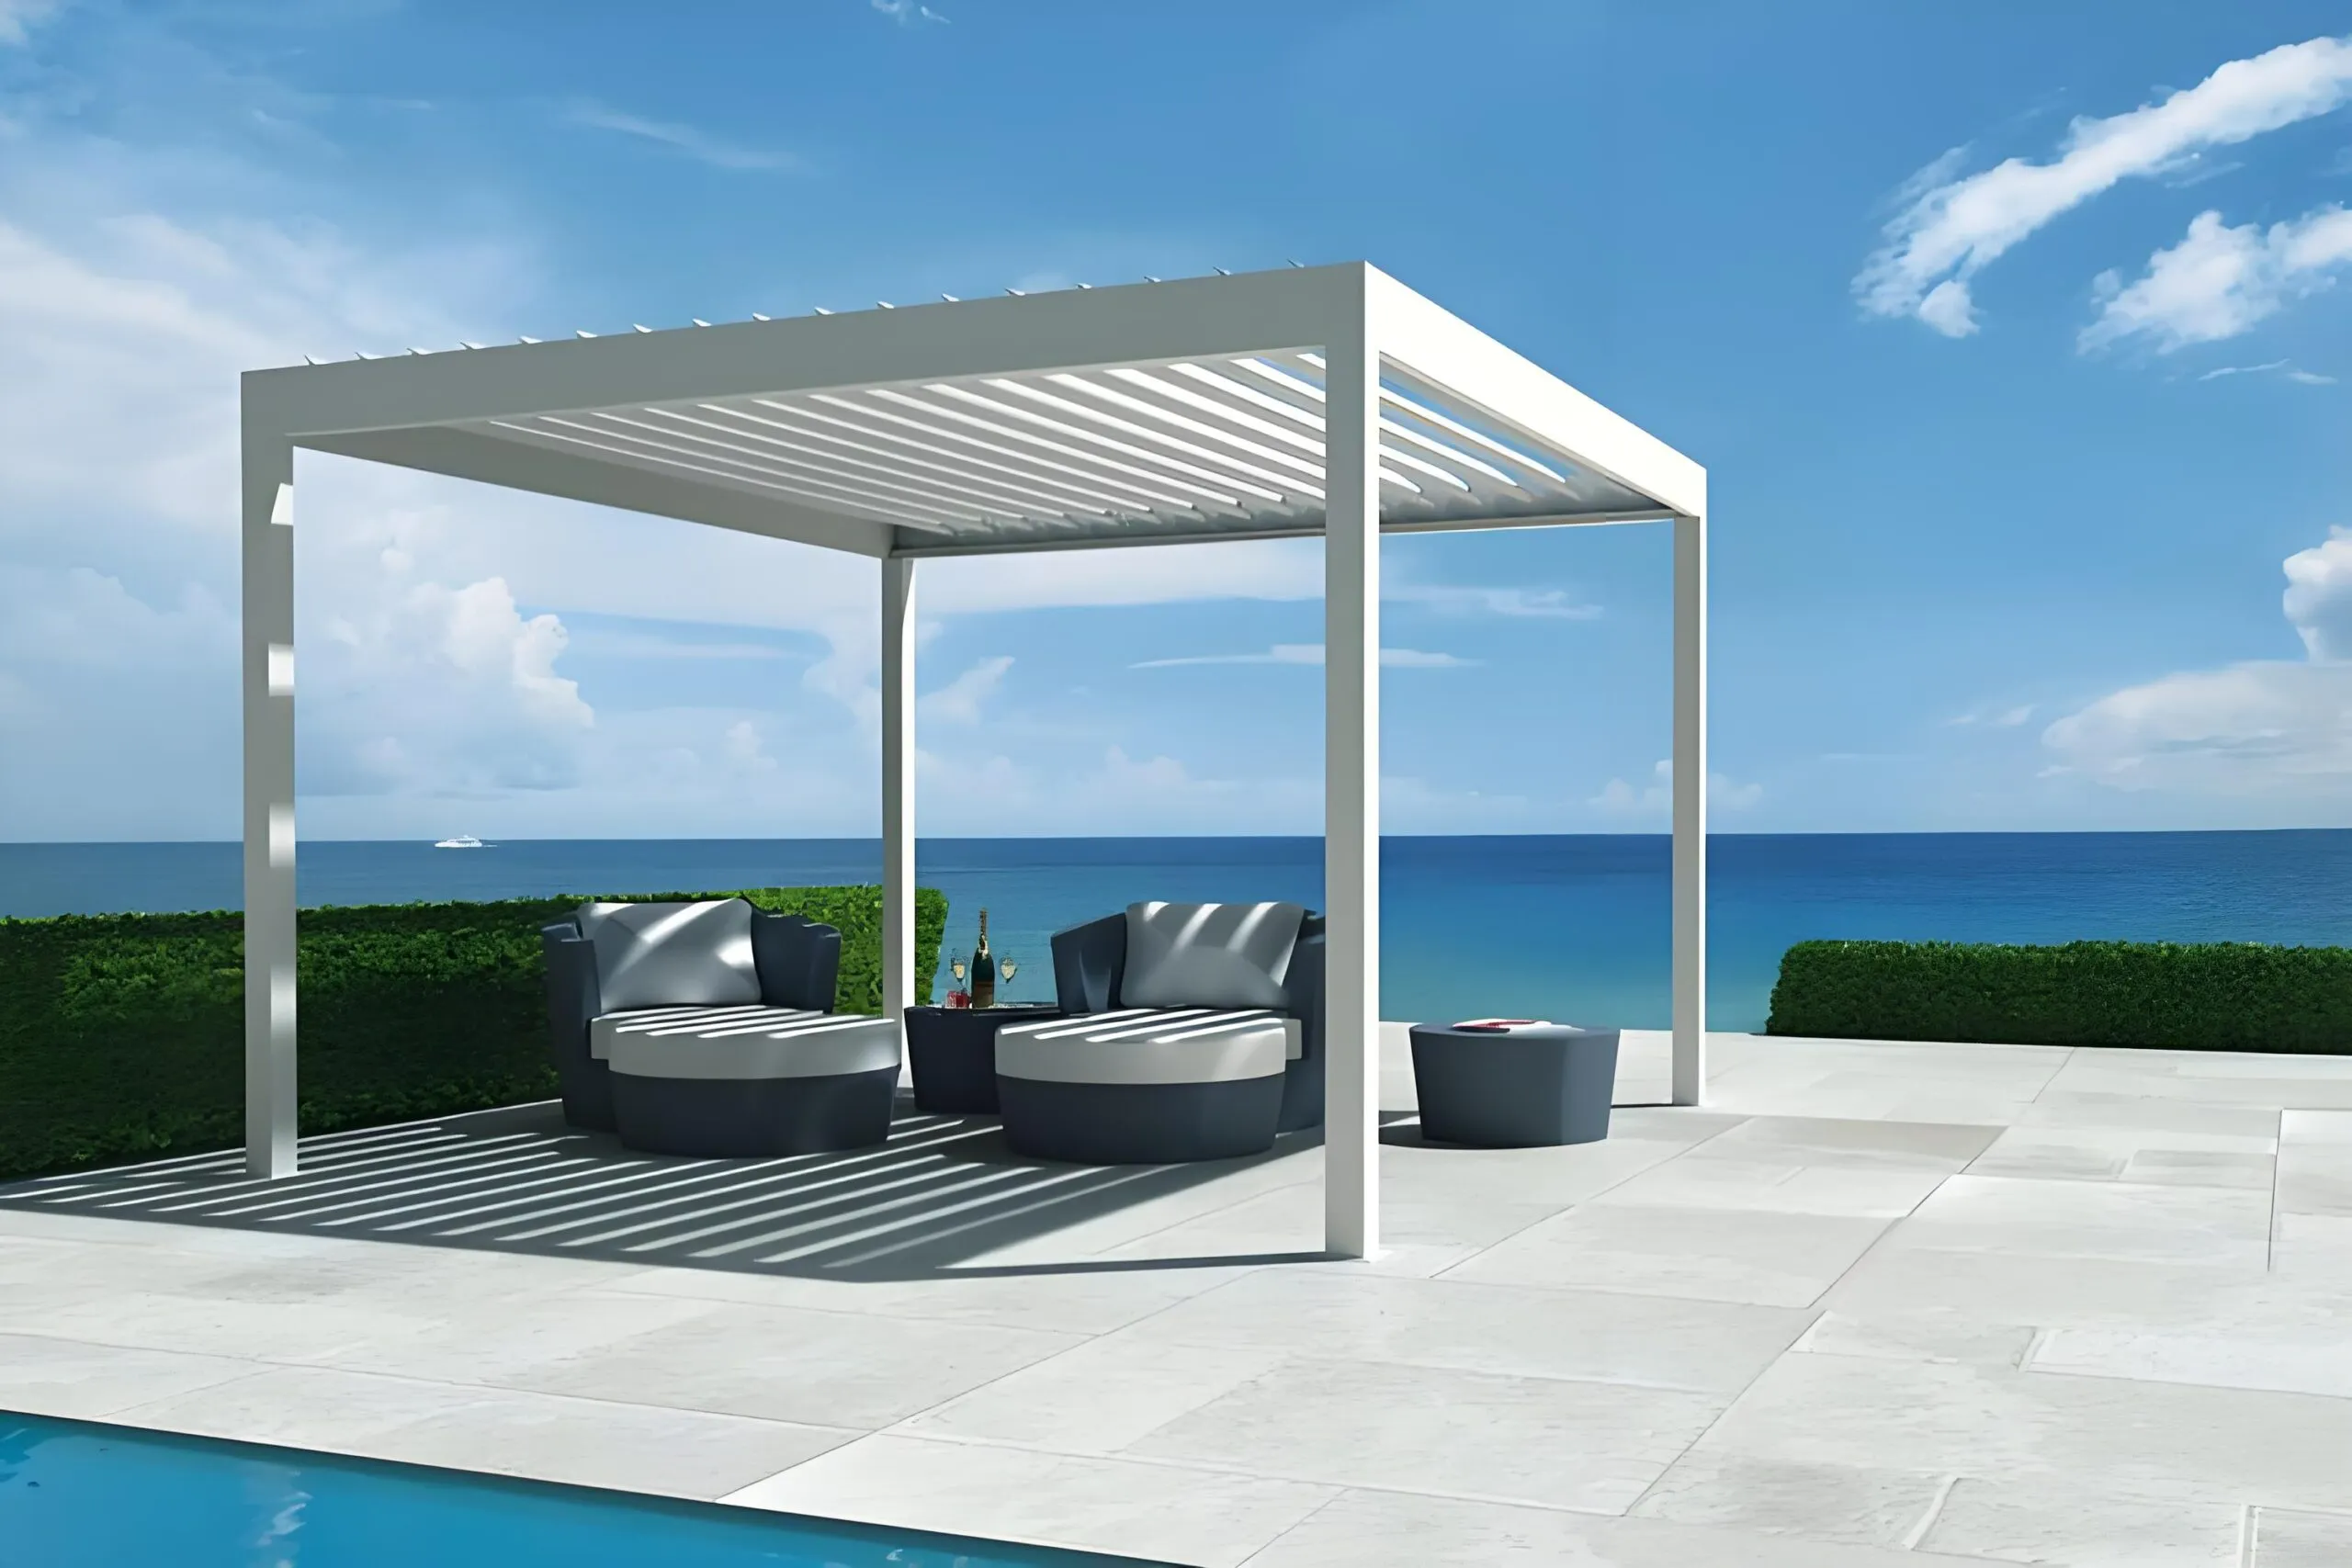
The modern pergola is all about minimalism and clean lines.
Think bold, simple geometry, often using matte black or dark charcoal aluminum frames. These simple pergola ideas focus on defining a space, creating a visual anchor for a sleek set of outdoor furniture. The beauty lies in its simplicity, proving that a shade structure doesn’t need to be complicated to be stunning.
Pergola Attached to House Ideas
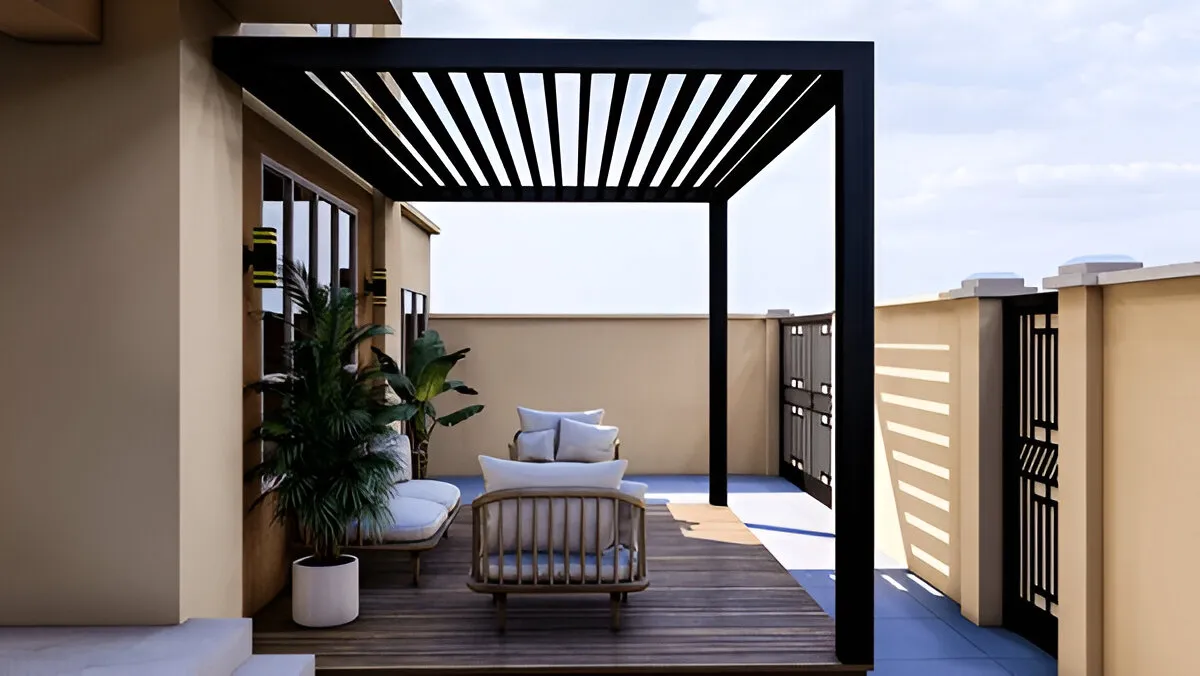
This is one of the most functional designs.
A pergola attached directly to your house acts as a seamless transition from your indoor living room to your outdoor patio. It blurs the line between inside and out, effectively adding a new, sheltered room to your home.
This design is perfect for creating an outdoor dining area right off the kitchen or a shaded lounge space accessible directly from the living room. It makes the outdoor space feel like an integral part of your home’s floor plan.
Pergolas for Small Backyards: Big Impact in Small Spaces
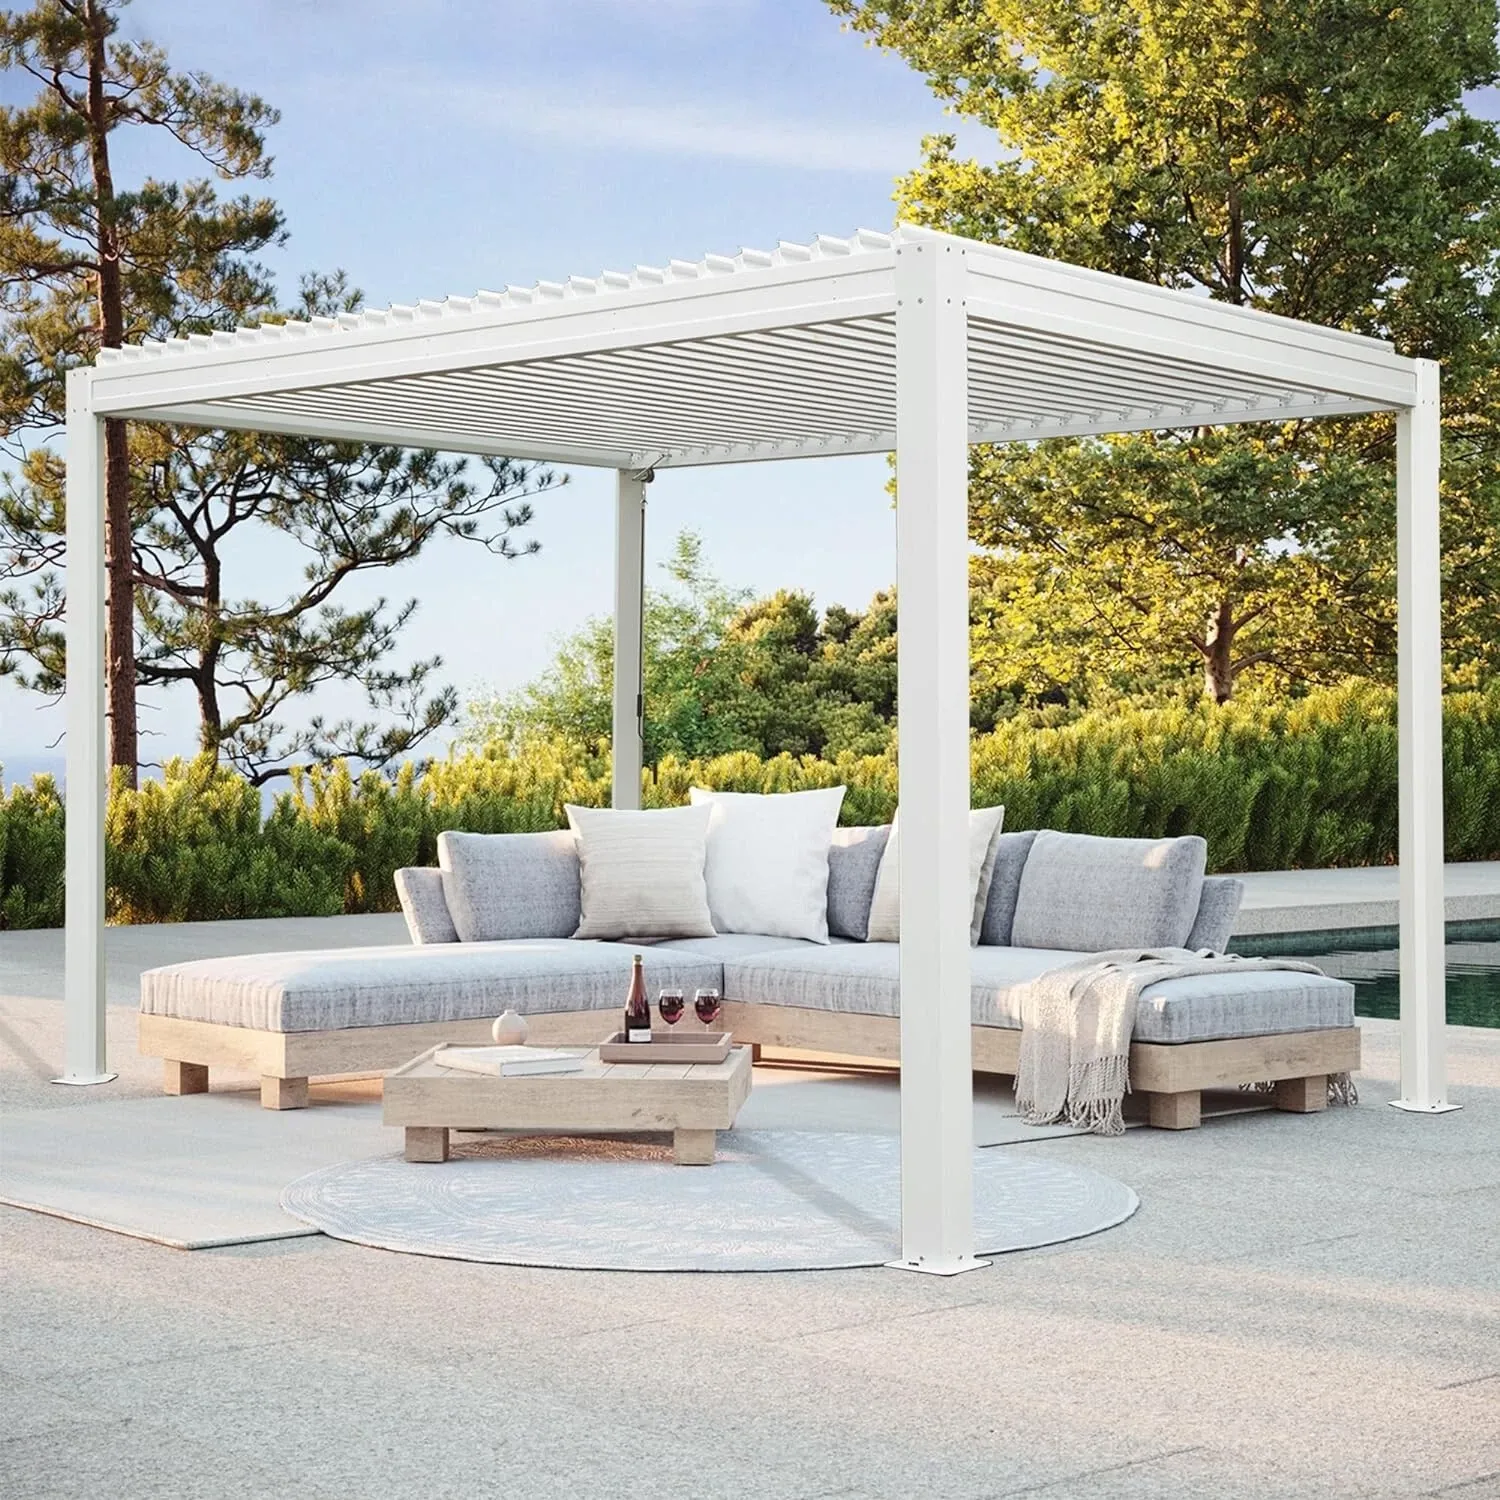
Think you don’t have enough room?
A common mistake is believing pergolas are only for sprawling estates. In reality, a pergola in small backyard settings can be even more impactful.
A well-placed small diy pergola (like a 10’x10′ or even 8’x8′) creates a distinct zone without consuming the entire yard. It can turn a tiny, forgotten concrete slab into an intimate, purposeful corner for morning coffee or evening cocktails.
Pergola Ideas for Privacy: Creating Your Secluded Oasis
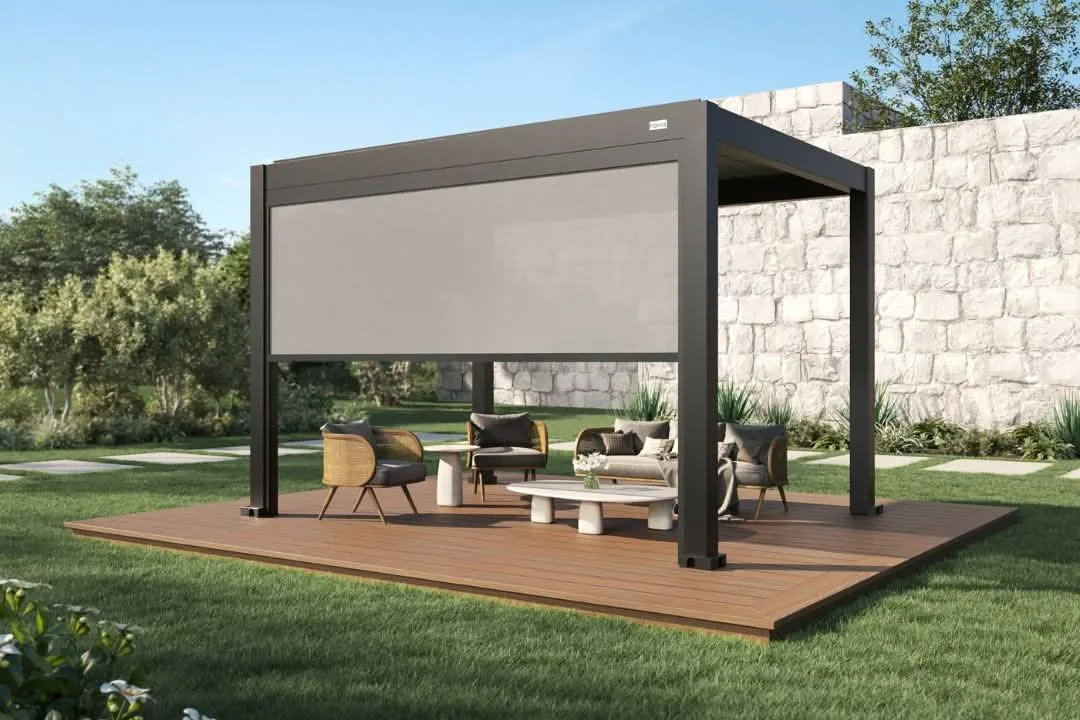
Your backyard should be your private escape, not a stage for your neighbors. Many modern pergola designs are built with privacy as a primary goal. This goes beyond simple shade.
Think about pergola privacy wall ideas—integrating a slatted wooden screen, a trellis for climbing plants, or even advanced motorized screens on one or two sides. This allows you to block a specific sightline without building a massive, unfriendly fence.
Part 2. The Planning Phase: Budget, Permits, and Core Decisions
With a vision in your head, it’s time to get practical. This is the most important phase—where you set your project up for success by answering the tough questions about cost, legality, and materials.
We’ve seen this shift toward serious outdoor living in our own customers, and it’s backed up by broader data. A 2025 survey (via the New York Post) of 2,000 U.S. homeowners found that turning the backyard into a personal “sanctuary” is now the top exterior home trend, with many people planning projects like new patios, decks, and shade structures such as pergolas. For you as a DIYer, that means your pergola project isn’t just a nice-to-have—it’s part of a long-term lifestyle and home value strategy.
Budgeting: How Much Does a DIY Pergola Cost?
The cost to build a pergola varies dramatically. A simple DIY wood pergola built from scratch might cost $1,000 – $3,000 in materials. A more robust, high-quality diy aluminum pergola kit might range from $4,000 to $10,000. A fully custom, motorized louvered roof system will be significantly more.
Your total cost is a combination of:
- Materials: The lumber or aluminum, the concrete for footings, and all the hardware (screws, bolts, brackets).
- Tools: Do you need to buy or rent an auger, a miter saw, or a level?
- Finishing: The cost of wood stain, sealer, and brushes.
DIY Pergola on a Budget
If you’re on a tight budget, here are the best ways to save:
- Build from Scratch: If you have the skills and tools, building from raw lumber is almost always cheaper than a kit.
- Choose Standard Sizes: Building to a standard size like 10’x12′ or 12’x12′ minimizes material waste.
- Use Pressure-Treated Pine: It’s the most cost-effective lumber, though it requires heavy maintenance.
- Phased Building: Build the basic frame now. You can always add a roof, privacy screens, or lighting in the future.
The Legal Hurdle: Do You Need Permit to Build a Pergola?
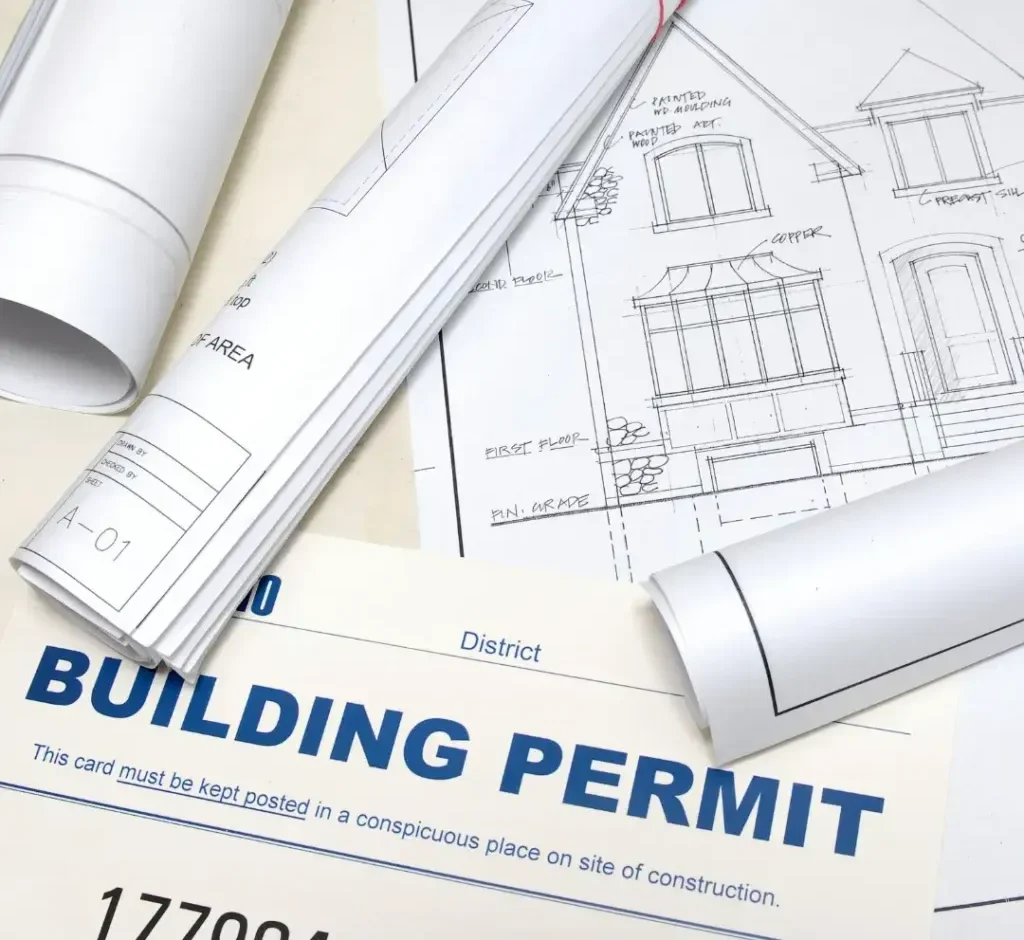
The short answer: Probably. It depends entirely on your local municipality.
- Freestanding vs. Attached: A pergola attached to your house is almost certain to require a permit, as it’s considered an extension of your home.
- Size & Height: Many towns have rules stating that any structure over a certain size (e.g., over 120 sq ft or over 10 ft tall) needs a permit.
- Location: Rules about setbacks (how far the structure must be from your property line) are common.
Do not skip this step. Building without a permit can result in fines, being forced to tear the structure down, and major problems when you try to sell your home. Check your local building department’s website or give them a call. For general guidelines, you can reference standards from the International Code Council (ICC).
The Big Decision: DIY Pergola Kits vs. Building from Scratch
This is your first major crossroads.
Option 1: Purchase pre-cut aluminum pergola kits (DIY Building Aliuminum Pergola Kits)
These kits come with everything you need: all posts and beams are pre-cut and pre-drilled, all hardware is included, and the instructions are (usually) clear.
Pros: Far less complicated, saves immense time, no complex joinery required, professionally engineered.
Cons: Often a higher upfront cost.
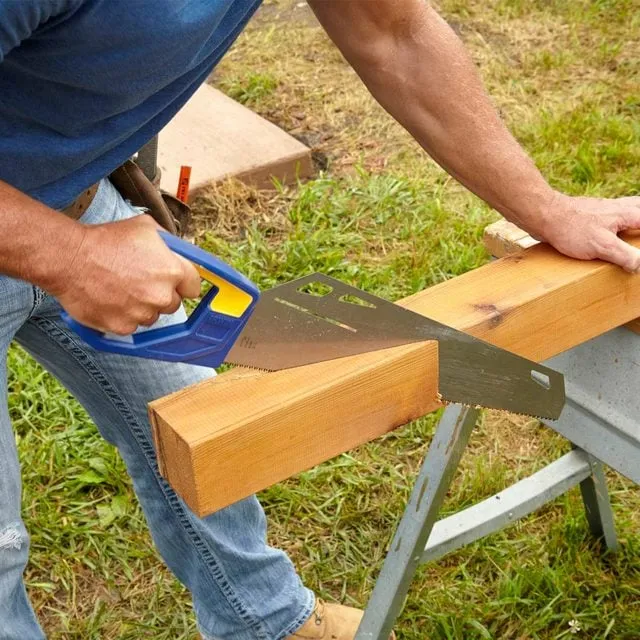
Option 2: Completed the entire process independently.(From purchasing logs and designing blueprints to cutting the wood yourself and building the gazebo.)
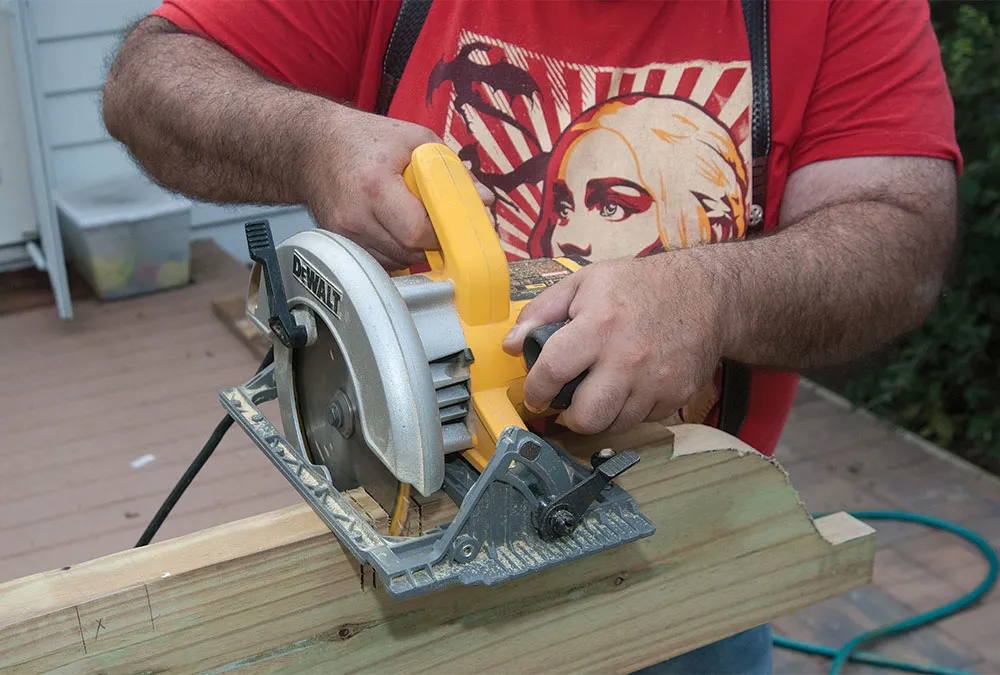
This means buying raw lumber (like 4x4s, 2x8s, etc.) and cutting, notching, and assembling it all yourself based on pergola plans.
Pros: Complete control over size and design, potentially lower material cost.
Cons: Requires significant carpentry skills, specialized tools (miter saw, circular saw), and is extremely time-consuming.
Choosing Your Material: DIY Aluminum Pergola vs. Wood
This is the most critical long-term decision you’ll make.
Wood (Pine, Cedar, Redwood):
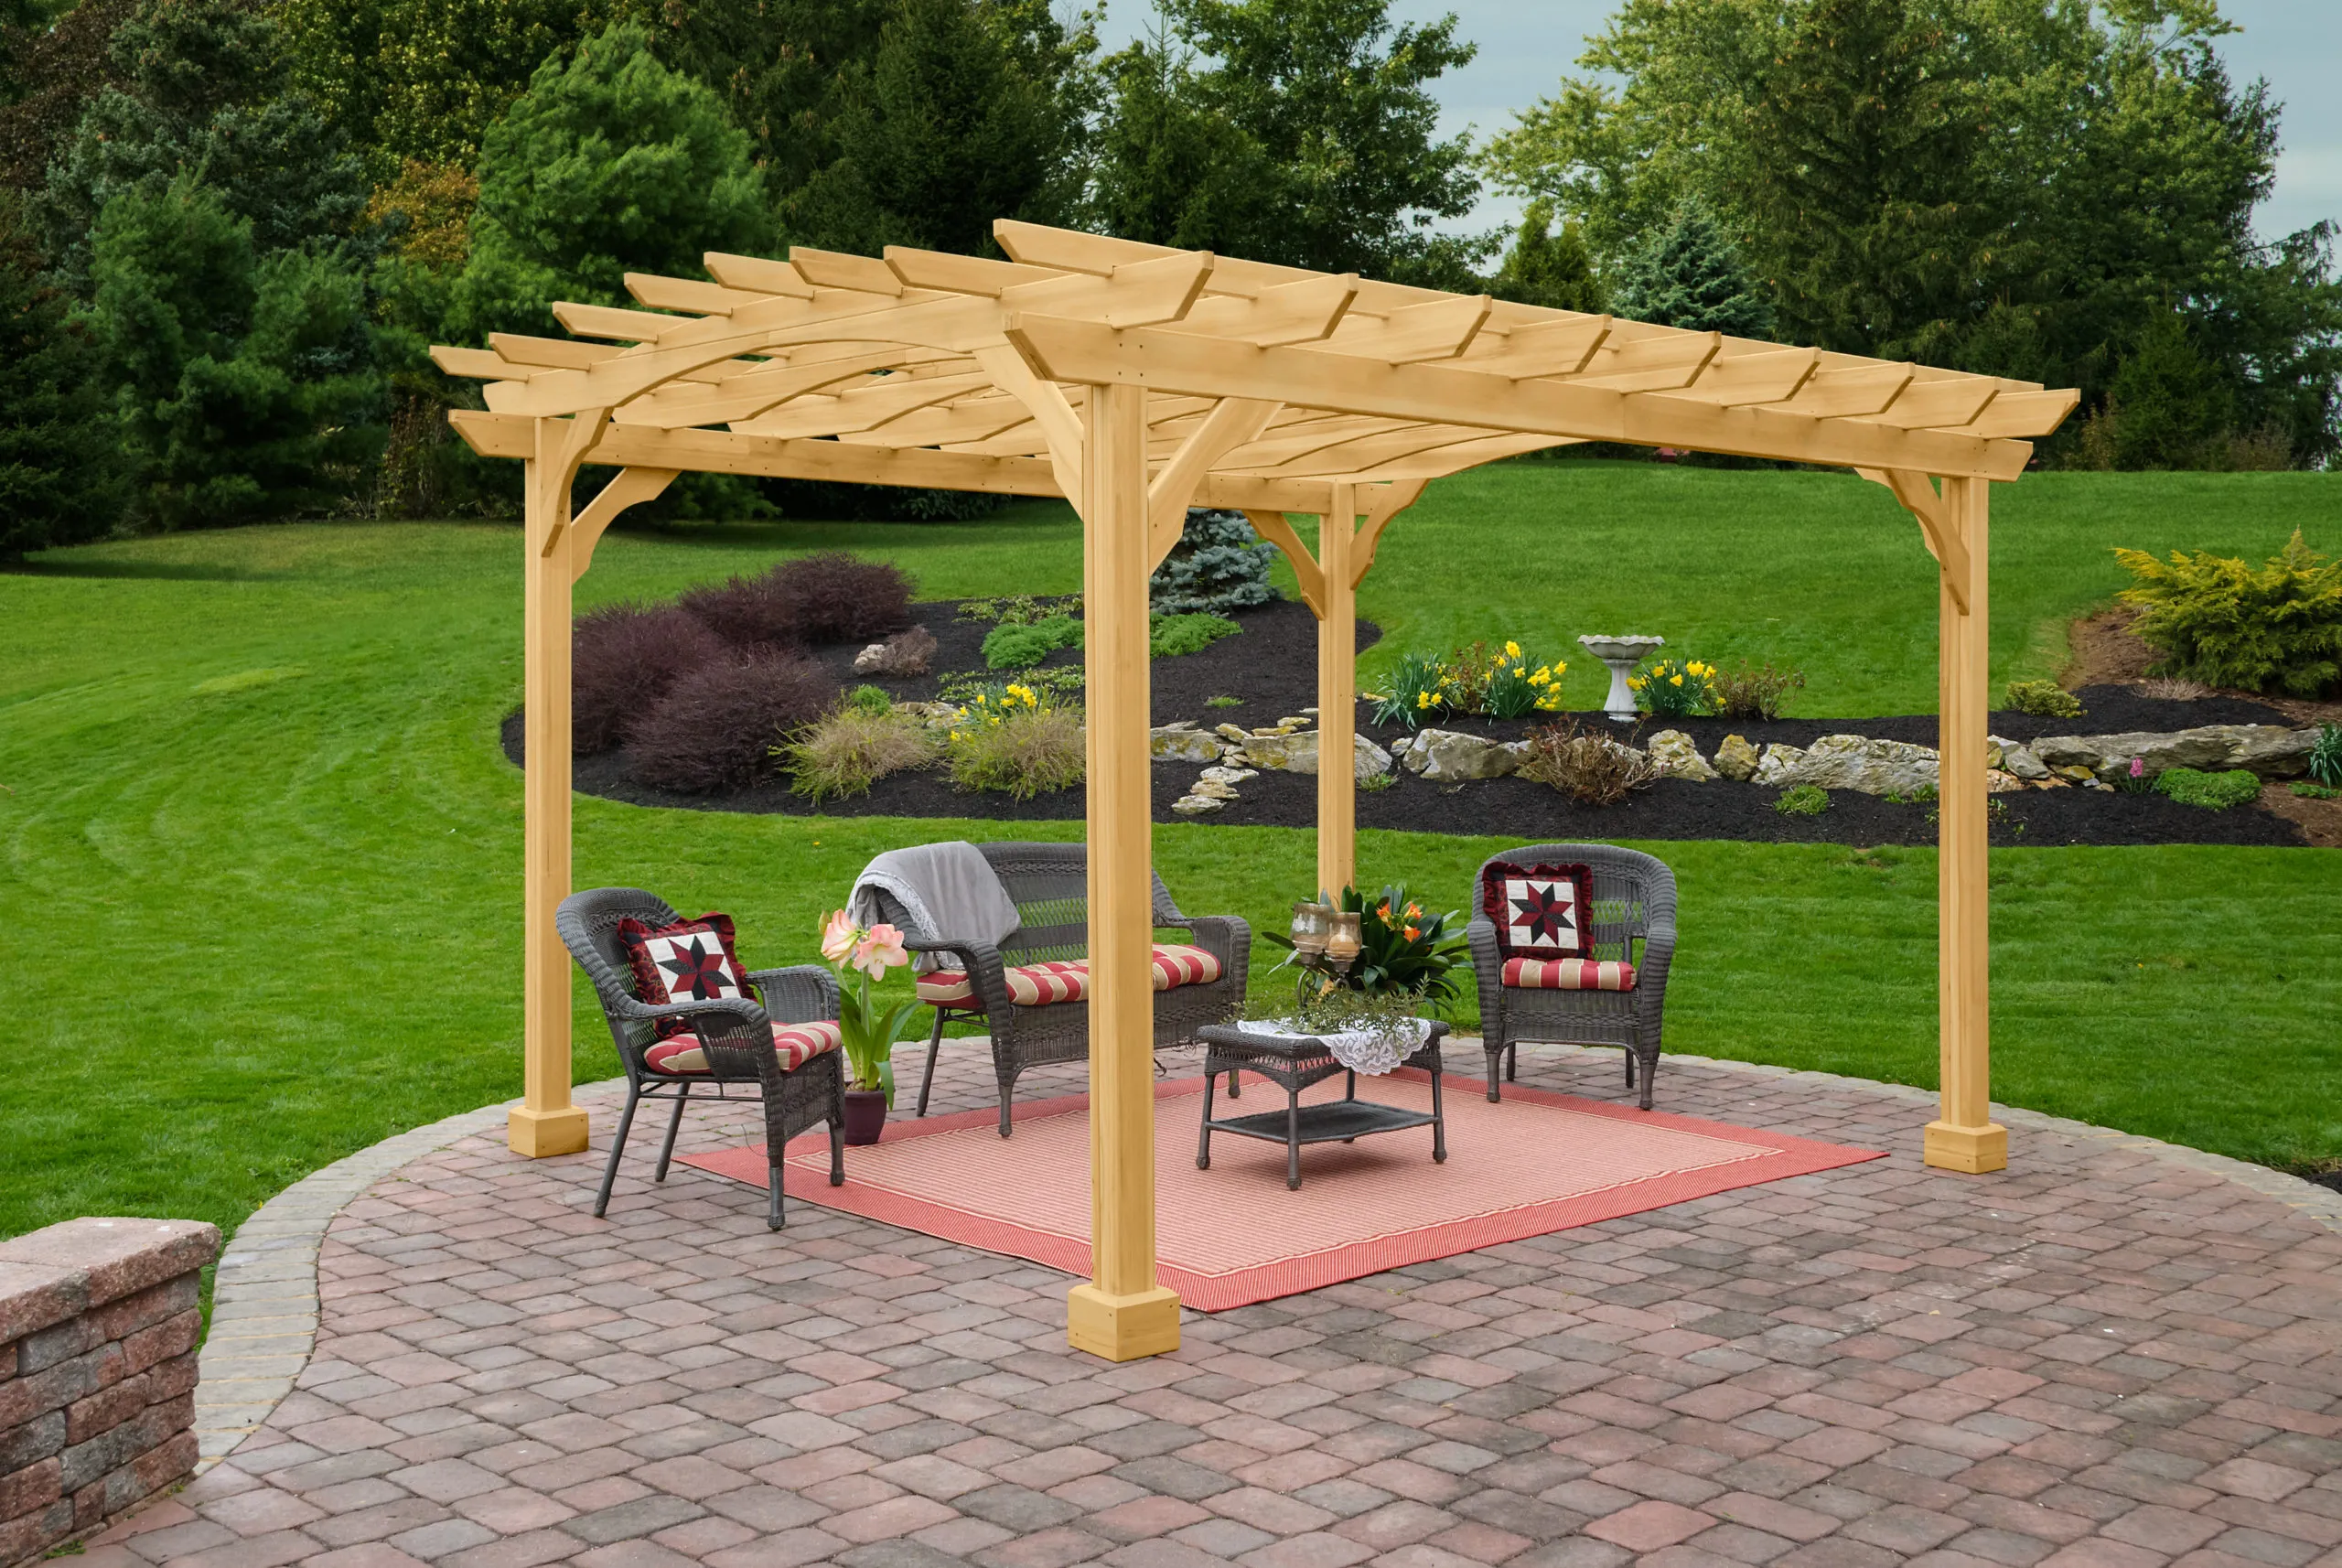
Pros: The classic, traditional look. Cheaper upfront.
Cons: Heavy. Prone to rot, warping, and insect damage. Requires annual maintenance (staining, sealing) for its entire life.
Aluminum:
Pros: Lightweight (easier for DIY), incredibly strong, and completely maintenance-free. It will never rot, warp, or rust.
Cons: Higher initial material cost.
Factory Insight on Maintenance:
From a maintenance standpoint, industry research is very clear. Technical guidance from the U.S. Forest Products Laboratory notes that pressure-treated lumber used in decks and other outdoor structures relies on chemical preservatives but still needs regular cleaning and re-sealing to perform as intended over time.
In our experience, many homeowners underestimate this ongoing workload. That’s one of the key reasons we’ve specialized in diy aluminum pergola kits: the powder-coated aluminum frames are engineered to resist rot, warping, and insect damage without the repeated sanding, staining, and sealing that wood demands.
Part 3. The Blueprint: Finding and Understanding Your Pergola Plans
A successful project—whether from a kit or scratch—starts with a professional plan. A simple sketch on a napkin is not enough. You need detailed pergola plans that guide all your pergola builds.
Where to Find Free Pergola Plans and DIY Pergola Plans PDF
A quick search will reveal thousands of free pergola plans. These can be a great starting point for inspiration and understanding the basic pergola construction plans. However, be cautious:
- Many diy pergola plans pdf files are old and may not meet current safety or building codes.
- They are generic and not engineered for your specific climate’s wind or snow loads.
- They often lack the crucial connection details (detail pergola) that prevent racking and failure.
Understanding Key Pergola Construction Plans
When you look at a professional plan, you’ll see a few key views:
- Pergola in Plan (Plan View): This is the bird’s-eye view, looking straight down. It’s used to confirm your layout, post locations, and overall dimensions.
- Elevations: These are the side views, showing the height of the posts and beams.
- Detail Pergola (Connection Details): These are the most important drawings. They show exactly how the beams attach to the posts and how the rafters attach to the beams. This is the core of the pergola’s pergola framing and structural integrity.
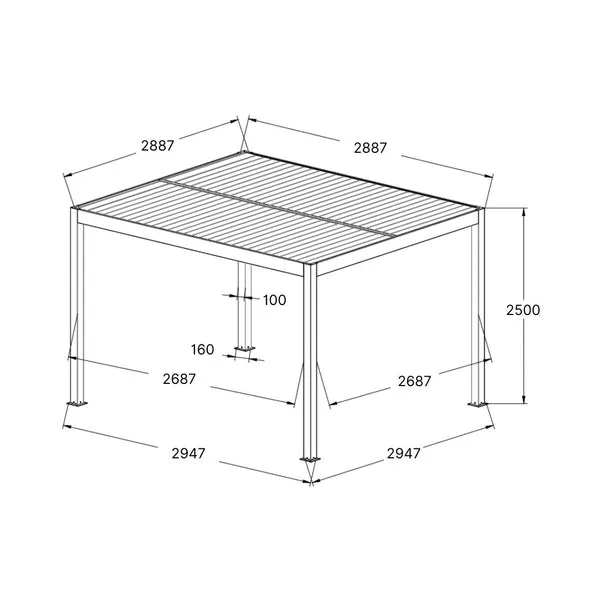
Pro-Tip: Choosing the Right Aluminum Pergola Dimensions
Most professional plans for a standard 12’x12′ pergola will specify 6×6 posts and 2×8 or 2×10 beams. Why? While 4×4 posts are cheaper, they can look visually undersized (spindly) and are far more prone to warping and bending over time under the load of the roof.
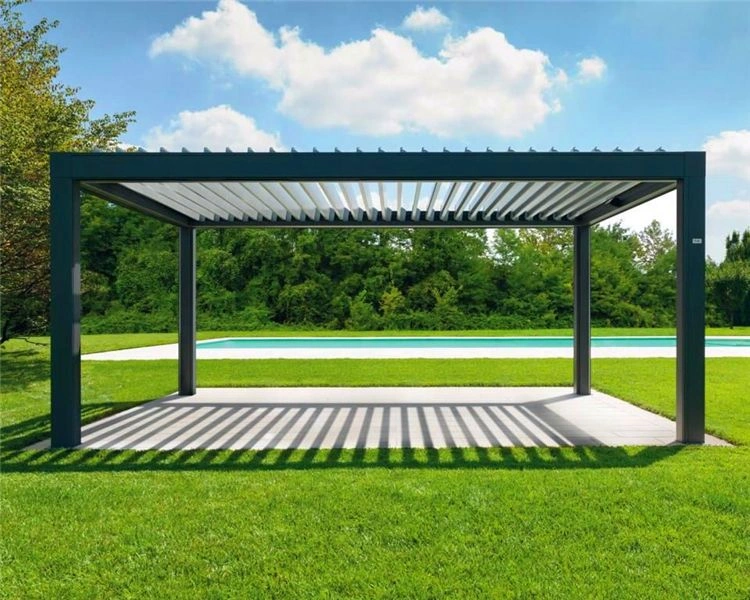
Freestanding vs. Attached Structures (free standing pergola plans)
- A freestanding pergola stands on its own (usually 4 or 6 posts), each requiring its own concrete footing.

- An attached pergola connects one side to your house (the “ledger board”) and only requires 2 or 3 posts on the outer side.
Building on a Deck (deck pergola plans / deck arbor)
CRITICAL SAFETY WARNING:
You cannot simply bolt a pergola to the top of your existing deck boards. A pergola is a heavy structure that acts like a sail in the wind. It must be anchored directly to the deck’s underlying frame (the joists and beams).
For a truly safe deck pergola, the pergola posts should ideally bypass the deck entirely and be anchored to their own concrete footings in the ground below.
Part 4. The Build: How to Build a Pergola (A Step-by-Step Guide)
You’ve got your plan, your permit, and your materials. It’s time to build. This guide covers the basic steps for a standard freestanding wood or aluminum pergola. An easy diy pergola is all about methodical, patient steps.
Step 1: Site Preparation & Foundation
This is the most important step. Everything else relies on a perfectly level and square foundation.
- Mark Your Layout: Use stakes and string lines to mark the exact outer corners of your pergola.
- Square Your Layout: Use the 3-4-5 method (or a builder’s square) to ensure your corners are perfect 90-degree angles.
- Dig Footings: Dig post holes to the depth required by your local code (below the frost line). This is a non-negotiable engineering requirement to prevent your pergola from heaving out of the ground in winter.
- Pour Concrete: Fill the holes with concrete and set your post anchors (e.g., wet-set brackets) into the concrete, ensuring they are perfectly level and aligned with your string lines. Let the concrete cure for 24-48 hours.
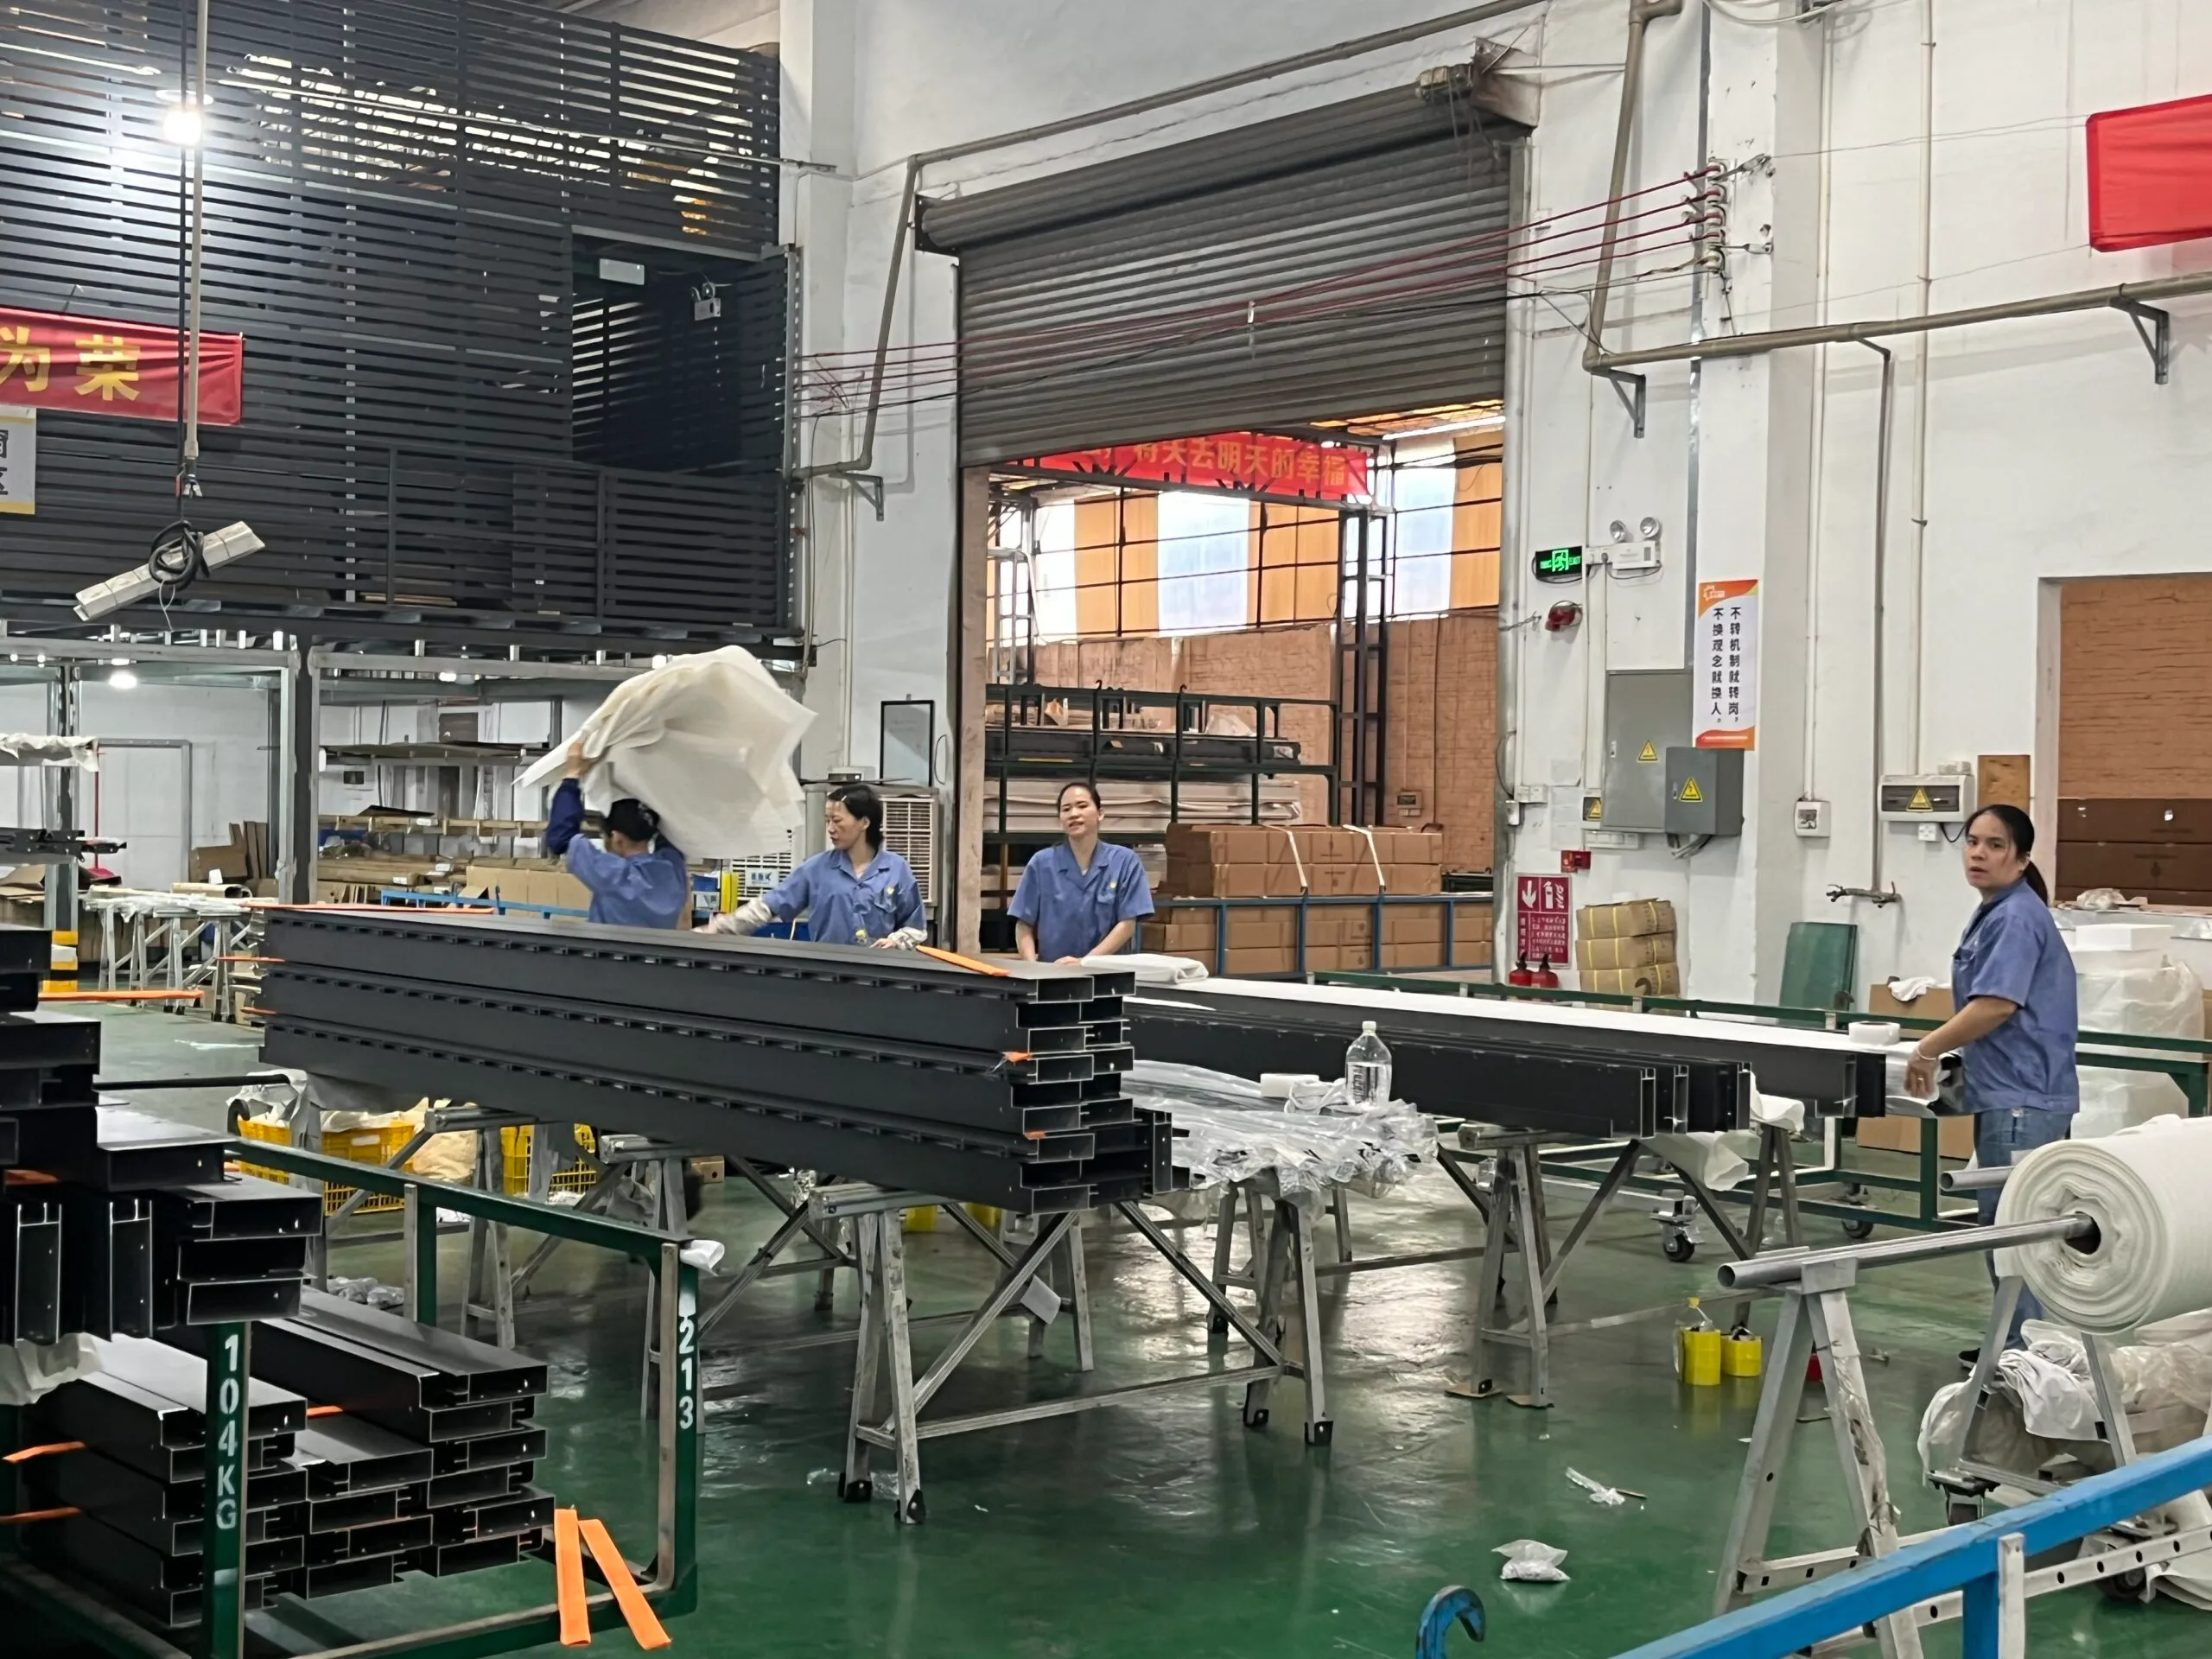
A Warning from Our Factory Floor :
In our own factory, we pre-assemble and test hundreds of DIY aluminum pergola kits every year before they ever reach a homeowner. The biggest failures we see in non-engineered, purely DIY builds almost always start right here with site prep and foundations: posts that aren’t perfectly plumb, footings that don’t go deep enough, or layouts that are a few centimeters out of square. Nine times out of ten, issues like rattling rafters, standing water on the patio, or a “leaning” pergola can be traced back to those first 30 minutes of measuring, marking, and leveling. Take your time on this step, and you’ll feel the difference in every part of the build that follows.
Step 2: Anchoring Posts
Once the footings are cured, attach your posts (e.g., 6×6 wood posts, or the aluminum posts from your kit) to the anchors. Use a long level to ensure each post is perfectly plumb (vertically straight) on two adjacent sides, and brace them temporarily with scrap wood.
Step 3: Assembling the Main Pergola Framing
This involves installing the main horizontal beams (or headers) that span between the posts. This is the primary structural component. You will need a helper (or two) and a tall, stable ladder. Ensure the beams are perfectly level and securely bolted to the posts according to your plans.
Step 4: Installing Rafters & Top Slats
These are the smaller pieces that run perpendicular to your main beams, creating the classic pergola shade pattern. Measure and mark your spacing (e.g., every 12 or 16 inches) and attach them using screws or hurricane ties.
Subtopic: How to Build a Small Pergola
If you’re working on a small diy pergola, the steps are identical, but the work is easier. You can use lighter materials (e.g., 2×6 rafters instead of 2x8s), and your layout will be simpler to square. The principles of a level foundation and strong connections, however, remain just as critical.
Part 5. Advanced Upgrades: Making Your Pergola a True Outdoor Room
This shift toward smarter pergolas isn’t just something we’re seeing in our own order book. Recent outdoor living trend reports, like those from This Old House, highlight motorized louvered pergolas with integrated lighting, heaters, and weather sensors as one of the fastest-growing categories in backyard upgrades, because they turn a seasonal patio into a space you can actually use in three or even four seasons.
Making a Pergola Roof: From Shade to Shelter
Your basic pergola provides partial shade. But you can upgrade it for full sun and rain protection.
The Retractable Option: DIY Retractable Pergola Canopy

This involves installing a track system and a heavy-duty outdoor fabric canopy that can be manually or (sometimes) motor-driven. It’s a great way to get on-demand shade.
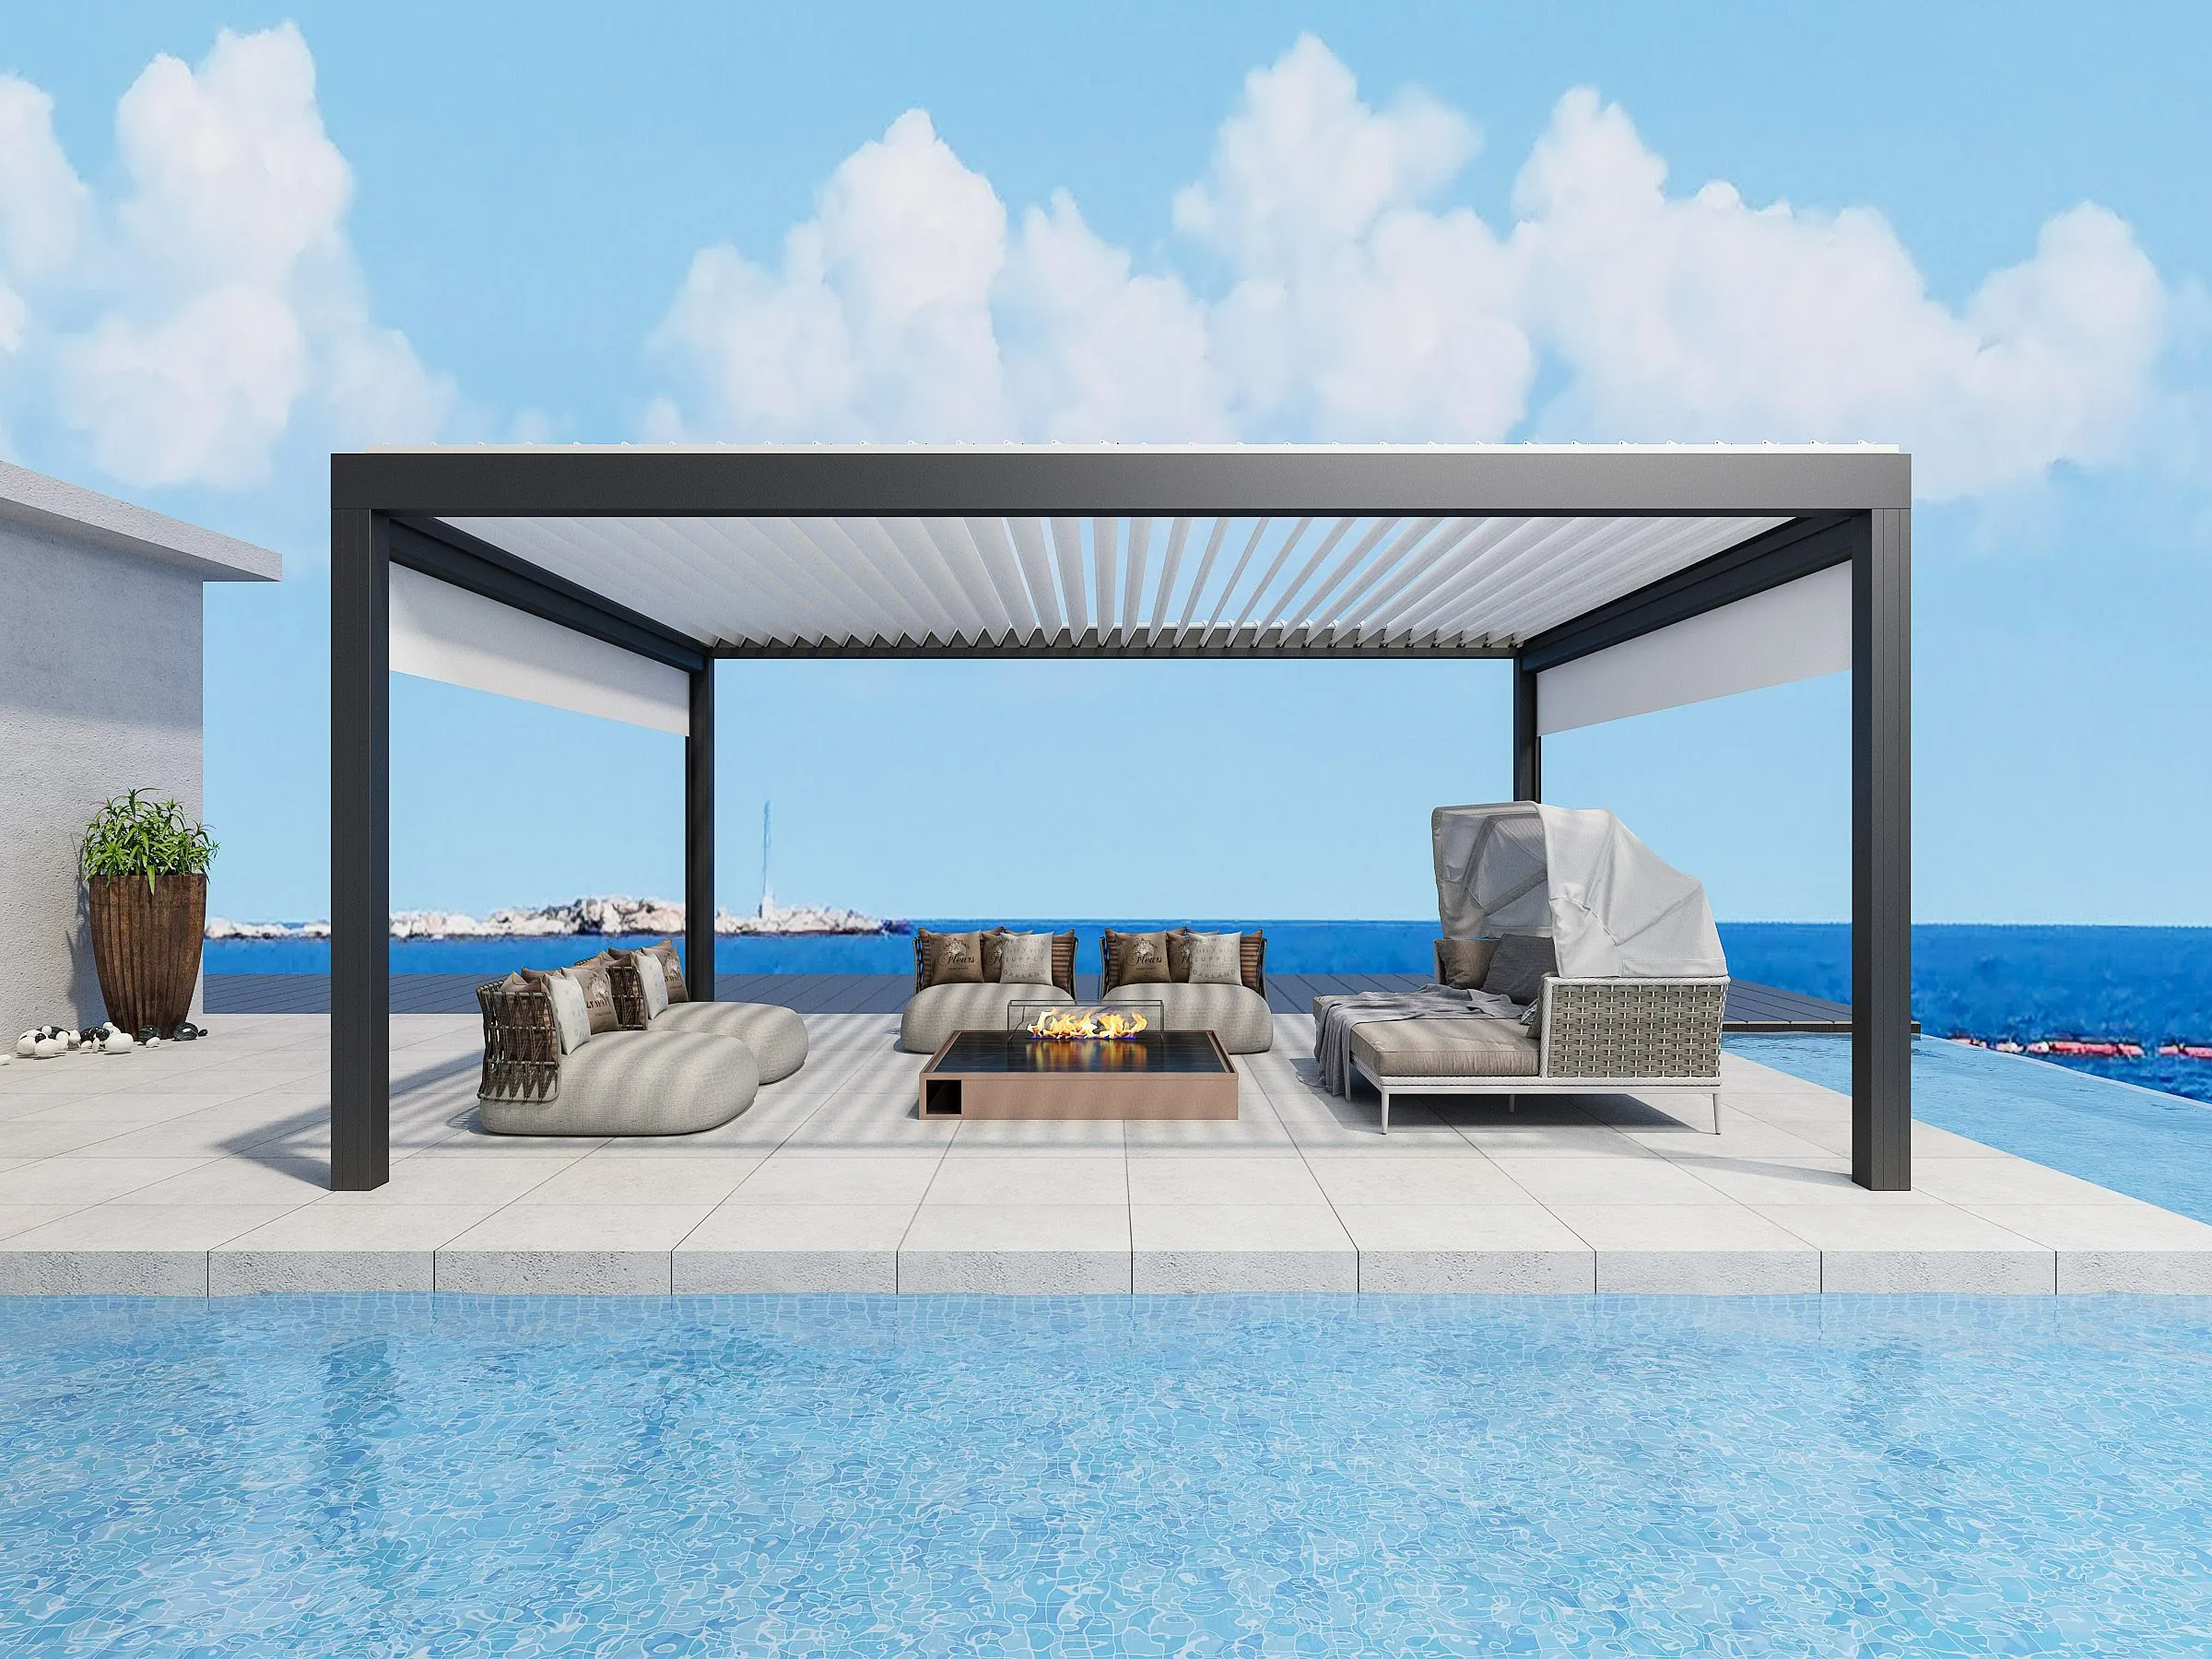
The Premium Option: DIY Louvered Pergola
This is the ultimate upgrade. A louvered roof, whether manual or motorized, gives you complete control: open the slats for full sun, angle them for partial shade, or close them completely to create a 100% waterproof roof. This turns your pergola into a true all-weather outdoor room.
One of our favorite recent projects came from a homeowner in Arizona who started with a simple 10×12 freestanding pergola built from our standard DIY aluminum kit. In the first season, they used it mainly for shade next to the pool. By the second season, they upgraded to our ValueMax Pergola | 2115, added integrated LED lighting, and enclosed one side with a privacy screen to block the late-afternoon sun. What began as a basic weekend pergola build turned into a true outdoor room that now functions as their main family gathering space almost year-round—without the warping, cracking, or re-painting that used to come with their old wood structure.
How to Screen in a Pergola for Privacy and Bug Protection
You can easily add privacy by attaching lattice panels, outdoor curtains, or by building a diy gazebo privacy wall on one or more sides. For a high-tech solution, motorized screens can be integrated to drop down with the push of a button, sealing the space from both bugs and prying eyes.
The Fun Add-On: DIY Pergola Swing Set
CRITICAL SAFETY WARNING: A pergola is not inherently designed to be a swing set.
The lateral (side-to-side) motion of a swing puts immense stress on the entire structure. If you want a pergola swing set, you must plan for it from the beginning, using larger posts (e.g., 6×6), much larger beams, and significant diagonal bracing to prevent the structure from racking and collapsing.
Conclusion: Your DIY Dream, Made Achievable
From a simple pergola images on a Pinterest board to a fully functional outdoor living room, building a DIY pergola is a journey. It requires careful planning, patience, and a respect for the process. While building from scratch can be a deeply rewarding experience, it’s a significant undertaking.
For many homeowners, the best balance of DIY satisfaction and professional results comes from a pre-engineered system. Using a high-quality, pre-cut diy aluminum pergola kit gives you the hands-on thrill of the build, but removes the most difficult, error-prone parts—like complex joinery, ensuring structural integrity, and the endless maintenance of wood. You get to skip straight to the fun part: assembly and enjoyment.
Ready to start your DIY project? If you want to bypass the hassle of cutting, sanding, and staining, and get straight to the simple, precise assembly of a structure that will last a lifetime, explore our [Progolas DIY Aluminum Pergola Kits]. We’ve already done the hard part for you.
Frequently Asked Questions (FAQ)
Q1: What’s the cheapest way to build a diy pergola on a budget?
The cheapest way is to use pressure-treated pine lumber, build from do it yourself diy pergola plans (or free plans), and do 100% of the labor. Be sure to factor in the long-term cost and time of annual re-staining and sealing.
Q2: What are the most important things to know for how to build a small pergola?
For a small diy pergola, the most critical part is the foundation. Even a small structure needs to be perfectly square, level, and securely anchored to concrete footings to prevent it from shifting or being damaged by wind.
Q3: Is a diy aluminum pergola harder to install than wood?
It’s almost always easier. Aluminum is significantly lighter than wood, making the posts and beams much easier for one or two people to lift and manage. Plus, high-quality kits come pre-drilled with precision, making assembly more like building a high-end Lego set than complex carpentry.
Q4: Can I add a swing to my deck arbor?
We strongly advise against it unless the deck arbor was specifically engineered from day one to handle the dynamic side-to-load of a swing, which requires much larger lumber and diagonal bracing.
Q5: Will how much does a diy pergola cost (building from scratch) really be cheaper than a kit?
It can be, but often by less than you think. Once you add up the lumber, the expensive stainless steel hardware, saw blades, concrete, stain, sealer, and the value of your own time (and the risk of costly mistakes), a pre-engineered kit often provides superior long-term value and peace of mind.
Q6: Where can I find reliable do it yourself diy pergola plans?
While many sites offer free pergola plans, we recommend looking at plans from reputable woodworking magazines or paid-plan sites that include detailed material lists and connection details. Always ensure the plans are compliant with your local building codes.