

Anchoring Pergolas on Pavers: The Professional Method

I recently saw a highly-rated post on r/landscaping where the most common disagreement reappeared: the contractor wanted to anchor the gazebo directly to the paving bricks; the owner was concerned about wind pull-out/lateral forces.
Based on my factory pull-out tests and field projects, the conclusion is: gazebos can be installed on paving surfaces, but the base must transfer the force to the concrete (foundation or slab), and should never be simply screwed to the bricks.
Below is a standard practice applicable to most scenarios + Precautions are provided, along with complete anchoring procedures for both light and heavy pergolas.
Factory Practice Experience and Data
We prepared small samples according to the internationally accepted anchorage pull-out test method (ASTM E488/E488M) to compare anchored only to 60 mm paving bricks and anchored to concrete specimens. Samples anchored only to bricks showed priority in brick cracking/stripping; samples anchored into concrete could withstand near the manufacturer’s stated load before failure, verifying the principle that paving is a surface layer, not a structural layer.
Field Case
In 2024, we constructed an independent foundation for a 12×16 ft aluminum alloy louvered gazebo on a sand-paved terrace, extending the bricks to the frost depth and securing it with engineered steel shoes. A follow-up inspection after a full monsoon of rain showed no displacement or loosening of the columns, and the finishing and drainage systems functioned normally.
Why Anchor Pergola to Paving Bricks?
Existing terrace, no need for large-scale demolition;
Visual integration: The column bases are flush with the paving, resulting in a cleaner look;
Flexible layout: Easier to position within existing spaces;
Good maintainability: Convenient for future inspections or replacements.
1. Start with the Pergola Type and Site Conditions
Pergola types
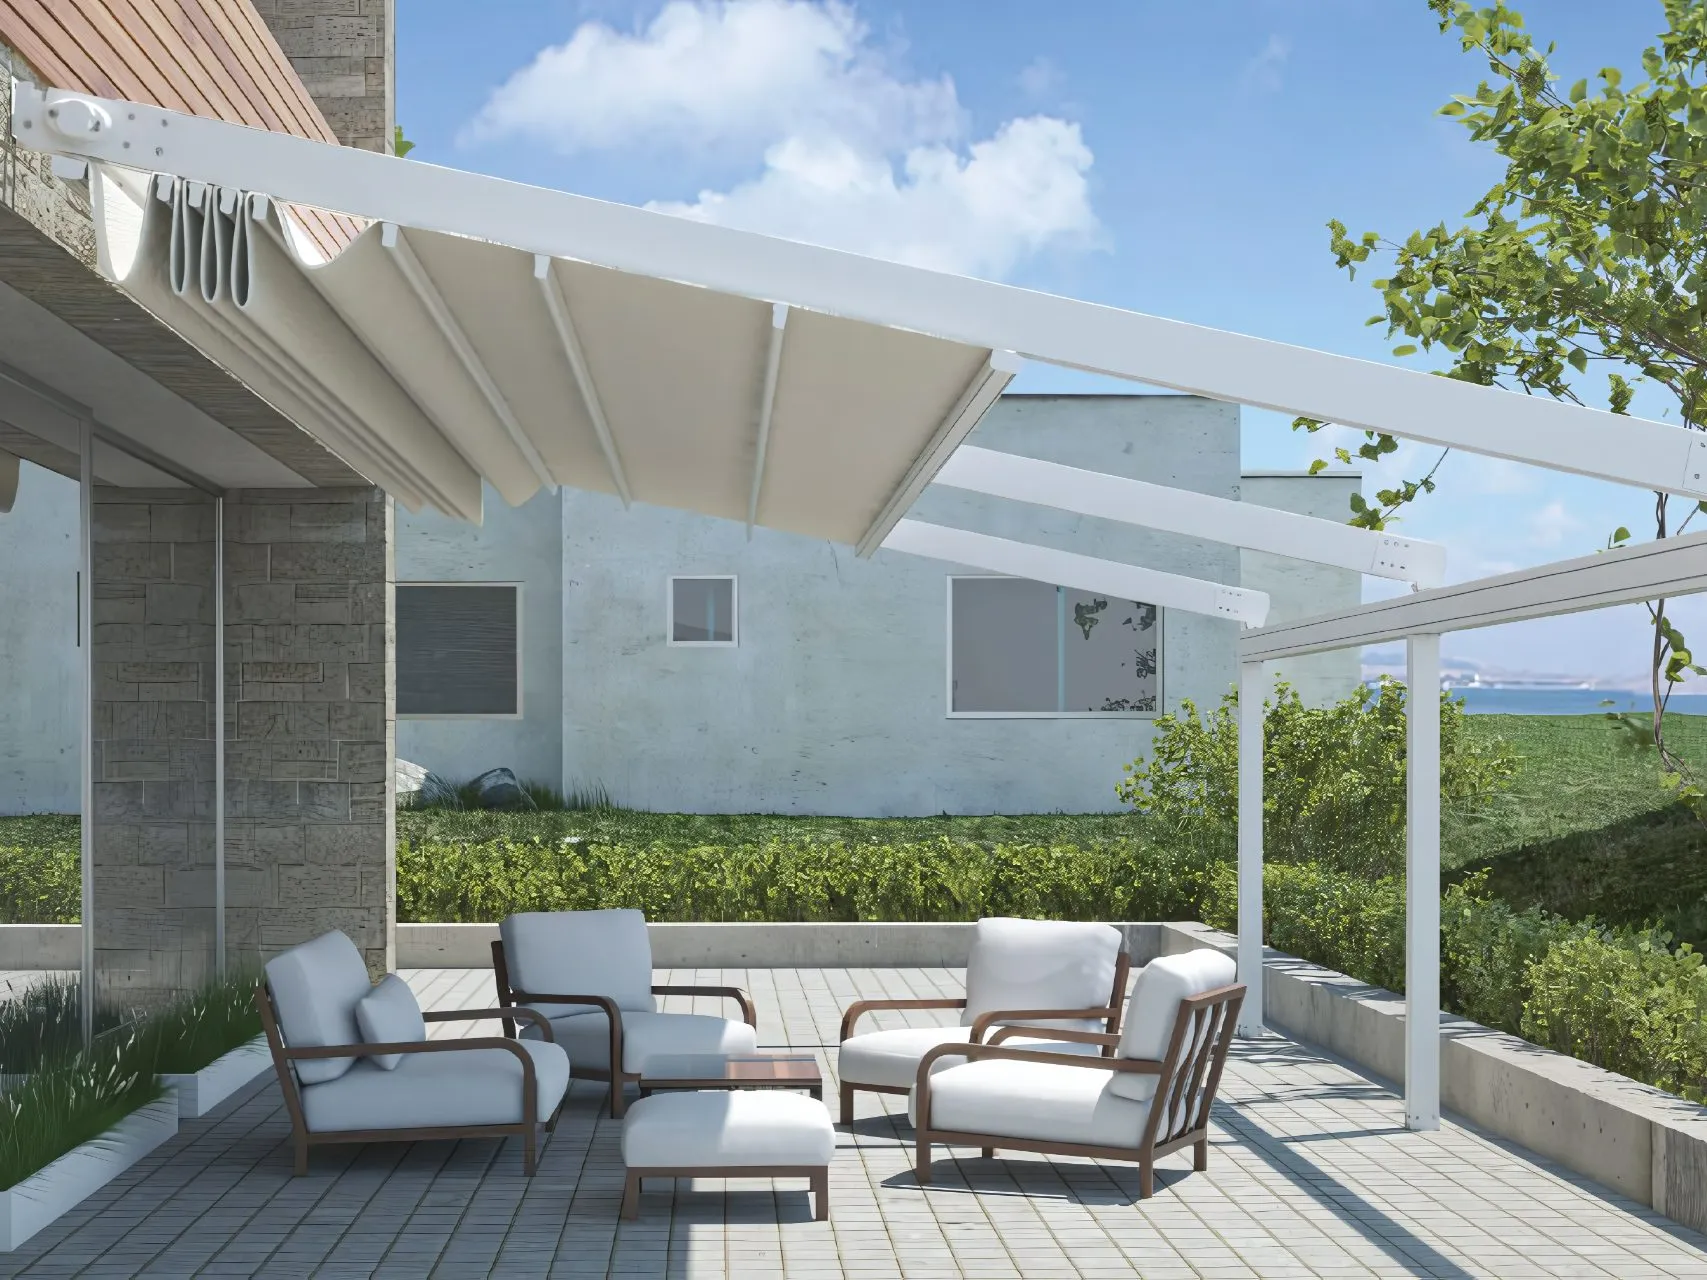
Lightweight pergolas (retractable fabric or thin-wall frames)
- Typical signs: PVC or fabric roof, post/beam wall thickness under ~3 mm, minimal cross-bracing.
- Where they work best: Mild wind regions (e.g., protected courtyards).
- Anchoring goal: Prevent racking and uplift without over-stressing the frame.
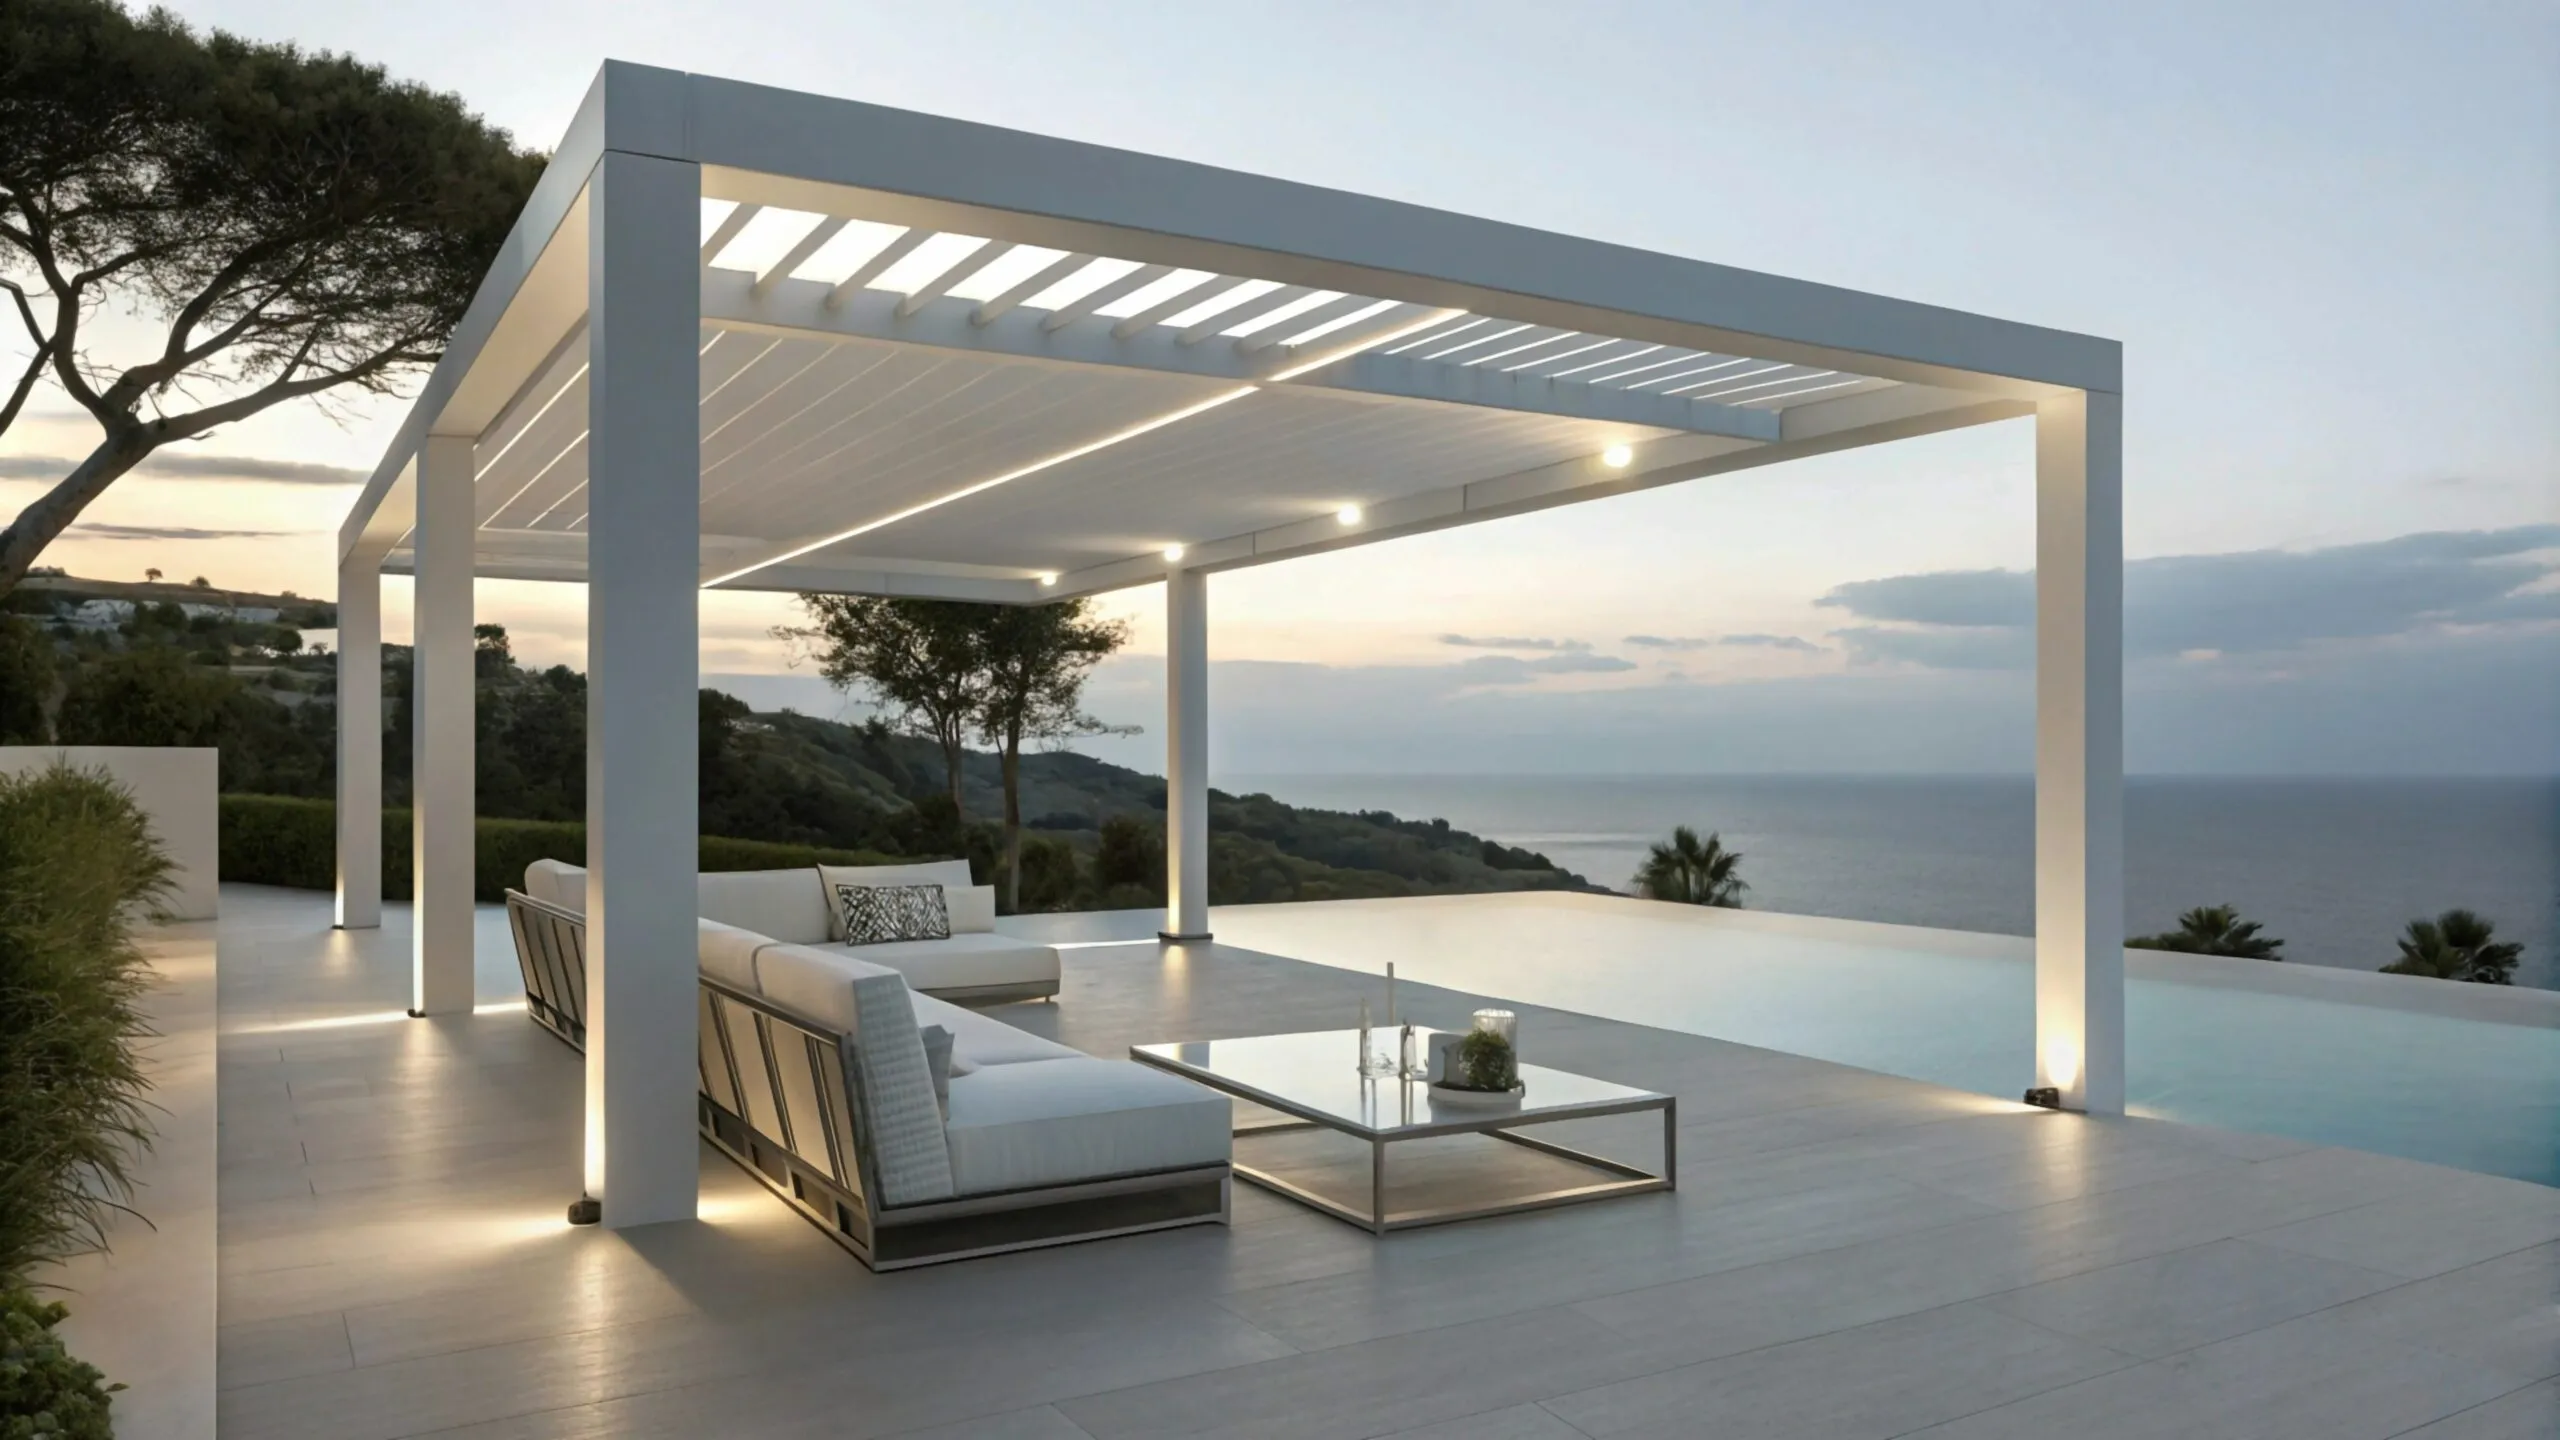
Heavy-duty aluminum pergolas or steel pergolas
- Typical signs: All-aluminum or steel posts, beams, and louvered roof; post walls ~2.5–4 mm+; integrated gutters.
- Where they shine: Coasts, deserts, high-wind corridors—thanks to corrosion-resistant frames and stronger connections.
- Anchoring goal: Treat as a true structure—design for lateral loads and uplift.
Understand your paver build-up
- Sand-set pavers over compacted base: Most common. No concrete below → usually add new footings/piers under each post.
- Pavers over a concrete slab: You can likely fasten post bases to the slab (after coring through the pavers).
- Porcelain/large-format on pedestals: Typically anchor to the structural deck/slab with engineered frames—not to tiles/pedestals.
Note:Hardware, Materials, and Wind Considerations
- Post bases/brackets: Use rated hardware sized to the post and load.
- Fasteners: Exterior-rated stainless or hot-dip galvanized; follow torque specs.
- Anchors: Wedge or epoxy anchors into concrete per engineering/manufacturer.
- Wind: In gusty regions, prefer heavier frames and deeper footings; add bracing where design allows.
- Corrosion: Powder-coated aluminum performs well in coastal/desert climates; rinse periodically.
2. Safe Methods to Anchor a Pergola on Pavers
Lightweight pergola — single recommended method (universal)
Core through pavers and pour concrete footings to frost depth, then mount adjustable post bases. Suitable for: Sand-paved pavers, terraces without cast-in-place slabs; lightweight/canopy pergolas.
Tools & Materials Needed:

- Measuring tape
- Chalk line / Ink line
- Spirit level & Square
- Paver cutter / Wet saw
- Impact/Hammer drill
- Post hole digger / Shovel
- Sonotubes (Concrete forms)
- Ready-mixed concrete
- Trowel
- Anchor bolts / Post bases
- Torque wrench
- Goggles, gloves, knee pads
- Polymer sand
- Broom
Steps:
- Positioning: Use a string line/ink line to determine the center of the four posts and double-check the diagonals.
- Removing and Cutting: Mark the post base area, remove the entire pergola, cut it offline to avoid chipping, and retain it for re-paving.
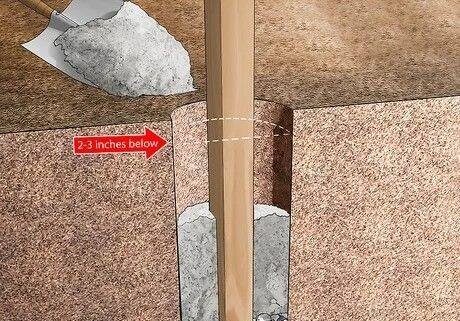
- Excavation and Shaping: Excavate to the local frost depth (determined by soil type and load in non-frost-prone areas), place the sonotube formwork and adjust its height so that the top of the concrete is flush with the paving surface.
- Reinforcement and Pouring: Place reinforcing bars/stirrups; pour concrete; wet-install anchor bolts or pre-embed adjustable post bases according to the formwork at the bottom slab hole positions.
- Relay: After hardening, install column bases/base plates; cut bricks and relay them around the column bases; compact the leveling layer and sweep in polymer mortar.
- Assembly: Tighten columns, beams, and ceilings to the torque specified in the instructions, adding concealed bracing/cables if necessary.
Precautions during installation (Lightweight):
- Do not screw small supports only onto the bricks; final anchoring must penetrate into the concrete.
- Leave micro-slots/drainage outlets to prevent the foundation from becoming a dam; maintain the original slope.
- Retract the canopy/thin-walled structure before strong winds to reduce upward pull and swaying.
- Use diamond cutters/hollow drills, supporting the edges of the panels before cutting to prevent chipping.
- Align the anchoring plan and torque with the contractor, referring to the contractor checklist.
- Curing and tightening should be performed according to the manufacturer’s time and torque specifications; a re-inspection should be conducted upon completion.
3. Step-by-Step Example: Heavy-Duty Aluminum Pergola on Sand-Set Pavers
Tools & Materials (Prepare these first)
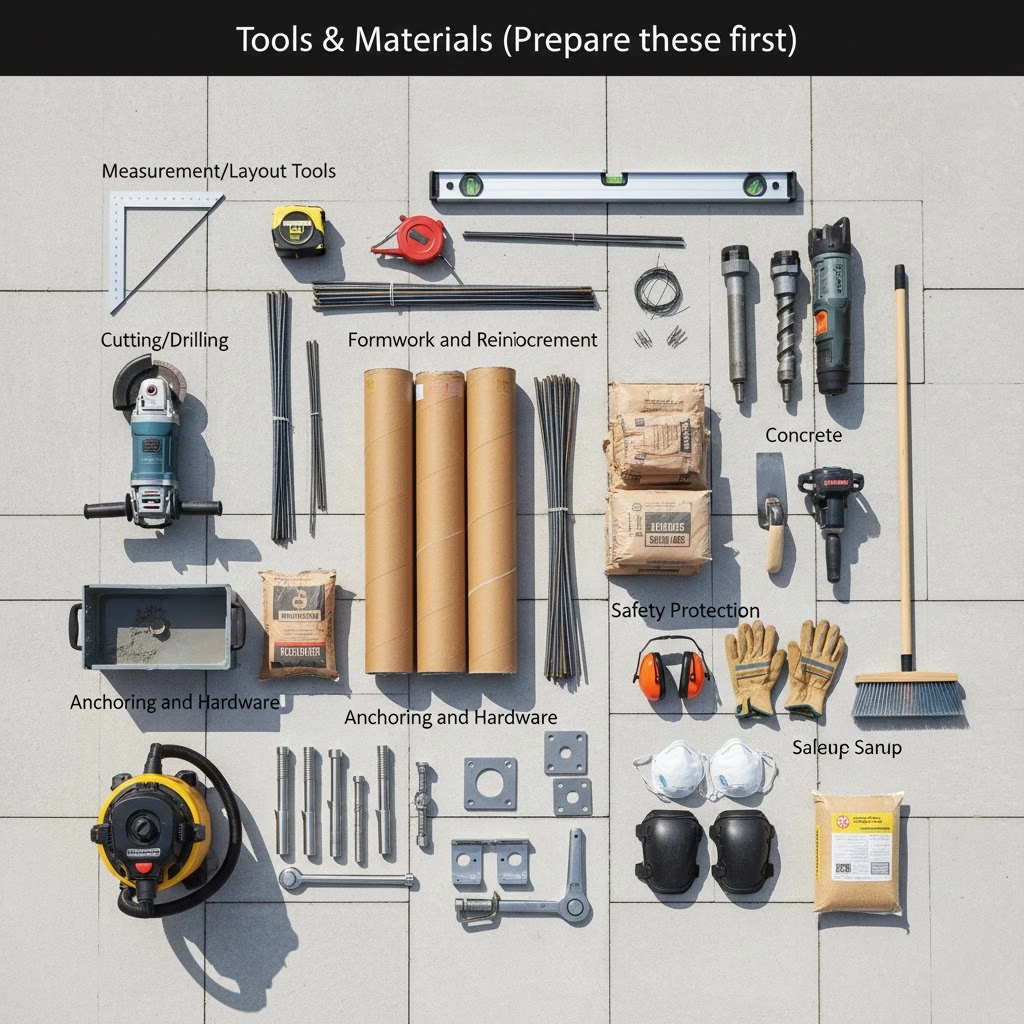
- Measurement/Layout Tools: Measuring tape, chalk line/powder line, spirit level, square
- Cutting/Drilling: Angle grinder (diamond blade), wet saw, hollow drill/diamond core drill, impact/hammer drill
- Formwork and Reinforcement: Sonotubes, reinforcing bars and ties, scaffolding/temporary supports
- Concrete: Ready-mixed concrete or on-site mixing, trowel, vibrator
- Anchoring and Hardware: Stainless steel/galvanized anchors, heavy-duty base plate/steel shoes, torque wrench
- Safety Protection: Goggles, gloves, dust mask, hearing protection, knee pads
- Cleanup: Industrial vacuum cleaner, broom, polymer sand
Steps
- Survey & Layout: Confirm boundaries/pipelines/drainage; mark lines to ensure squareness.
- Open the patio: Lay bricks up to the four posts; excavate according to the frost depth.
- Form & Reinforce: Place and reinforce the sonotubes; align the top elevation with the paving surface.
- Set Anchors: Pre-embed anchors in the wet concrete according to the base slab formwork.
- Cure & Mount Bases: Install powder-coated steel shoes/base plates after curing; ensure verticality.
- Relay Pavers: Cut bricks and attach them around the base slab; compact the leveling layer; sweep in polymer sand.
- Assemble Frame: Assemble columns, beams, blades/mechanical components according to instructions and tighten to the specified torque.
- Gutters & Drains: Direct gutters/downspouts to drainage outlets or gravel dissipation areas.
- Final Checks: Verify torque, verticality/levelness, drainage, and sealing.
Heavy-Duty Considerations During Installation
- Prefer engineered steel shoes/base plates and arrange bolts according to the manufacturer’s anchoring schedule.
- High-Wind Areas/Coastal Areas: Increase foundation dimensions appropriately or add diagonal bracing to prevent lateral shift and upward pull.
- When cutting bricks, remove the brick first and then cut it to avoid chipping and cracking caused by cutting in place.
- The eaves gutter should not run directly into the paving joints; instead, connect it to a drainage system or a gravel infiltration channel.
4. Conclusion
Building a pergola on paved bricks is feasible and safe, but the key is structural connection. Whether lightweight or heavy-duty, the column bases should transfer the load to the concrete foundation or slab, not just the paved bricks themselves. In practice:
Lightweight structures use a common solution of through-bricks → pouring independent foundations → adjustable column bases.“
Heavy-duty louver systems should be installed according to the manufacturer’s anchoring schedule and engineered bases; dimensions, anchor bolts, and torque must be accurate (more details: /louvered-pergola-drainage).
During construction, pay attention to the quality of cutting and re-laying, slope and drainage, and control of wind load and pull-out (communication and acceptance points: /contractor-checklist).